The only thing that is constant is change.
There were some major changes to Enterprise Manager with 13c and many of them may seem small to someone who knows the product well, but then again, it may trip you up as you’re accustomed to features working as you knew them in EM12c. One of these features is the manual edition of targets through the guided process.
Adding a Target
The Setup menu is still on the right, it just has some company now in the new EM13c interface:
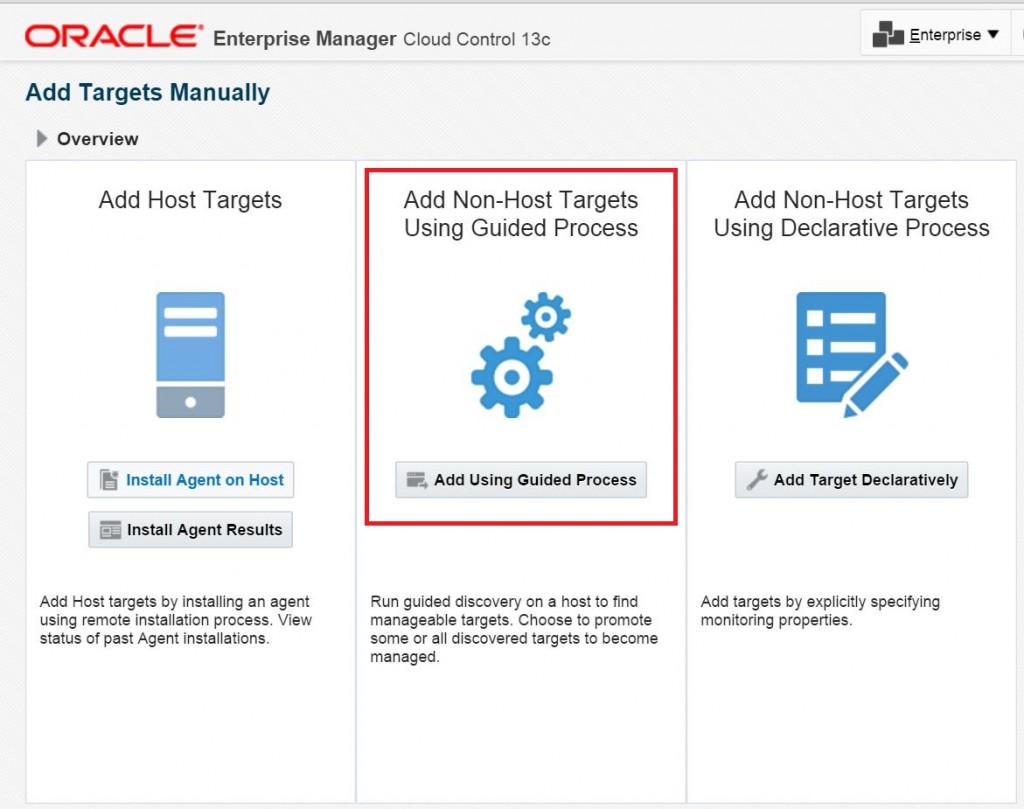
Click on Setup, Add Target, Add Targets Manually. This is where the guided process looks just a bit different than in EM12c:
We’re going to focus on the second two options, Adding a target via the Guided Process and adding a target Declaratively.
Using the Guided Process
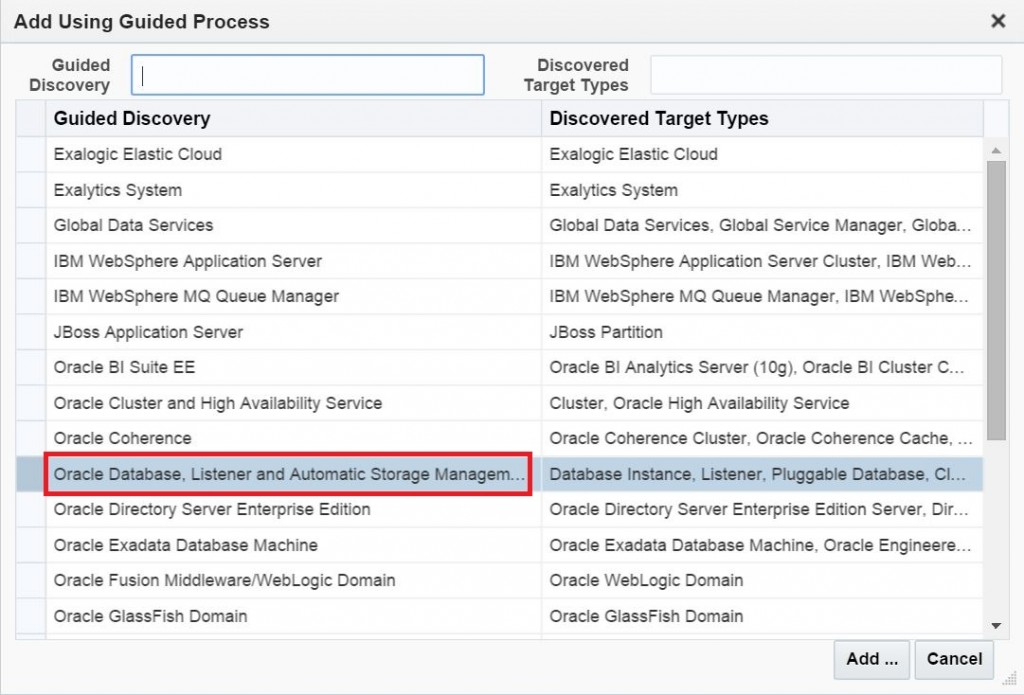
Click on the button for Add Using Guided Process. This process assumes you’re already added the host the target resides on and can be used to add a myriad of target types, including databases, clusters, engineered systems, middleware, along with all the support target types for any of these.
As you can see from the list shown above, there are a ton of target types supported out of the box, but if you don’t see the target type you require, then it may need to be downloaded and added to the repository.
For our example, we’ll keep it simple and just have the EM add the standard target types for a database host target. You can only choose one guided discovery type at a time, so if you have a host that is used for more, (let’s say it also have the Oracle BI Suite residing on it) you will need to perform that guided discovery separate from this one.
After choosing what you want to add, the guided process will ask you what target host you want it to search for the target types on.
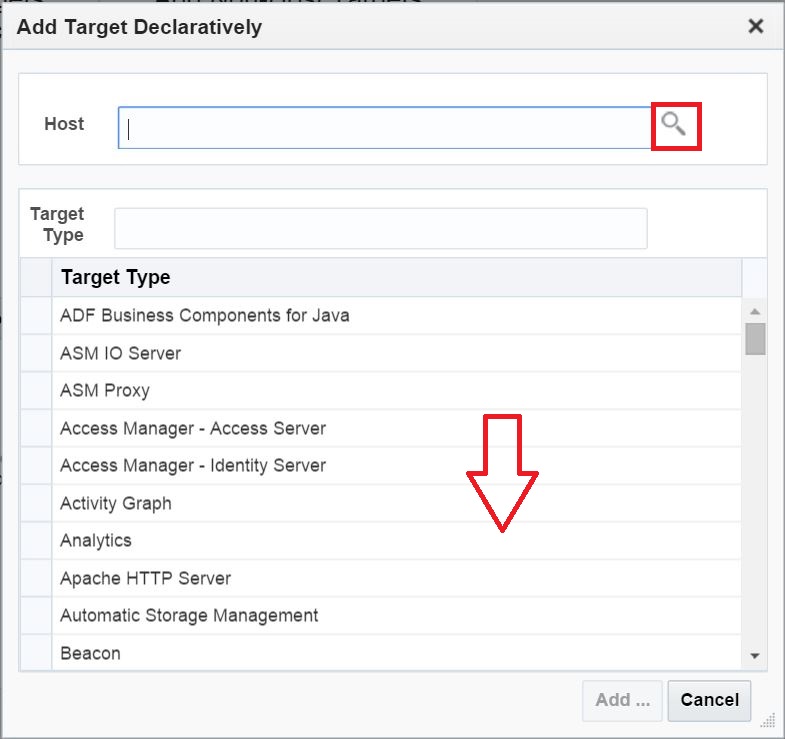
Click on the magnifying glass to choose a target host or hosts from the list, (this is where you can choose more than one!) You can also add Discovery Options, which are hints to help the discovery. One of the most useful is the ability to extend the timeout on the discovery search. If you have a network that has an issue with waits, or the discovery failed on time out the first time, you can add discovery_timeout=<in seconds>, which will change the duration till the timeout in the discovery.
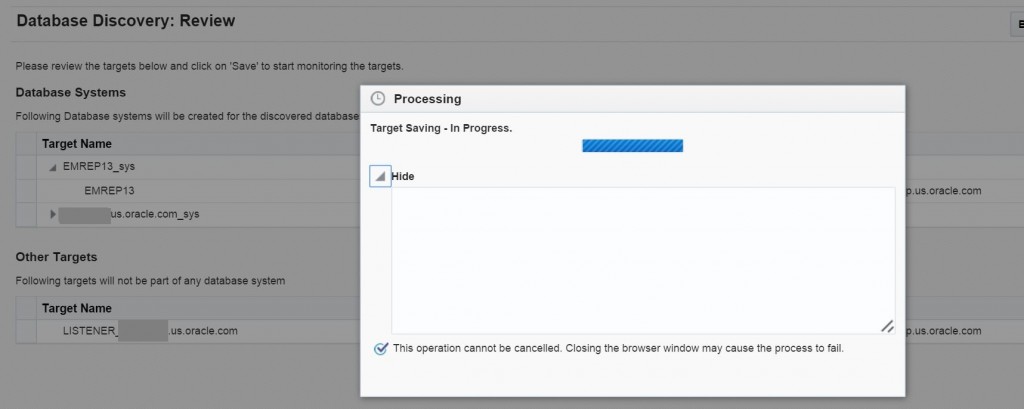
The discovery will locate all targets that meet the criteria. Update any monitoring usernames and enter the passwords for any of the monitoring requirements. DBSNMP is the user required by default, so if you want to use this login, ensure it’s not locked and you’ve reset it to a secure password.
Once successful, SAVE the configuration and you’re finished.
Adding a Target Declaratively
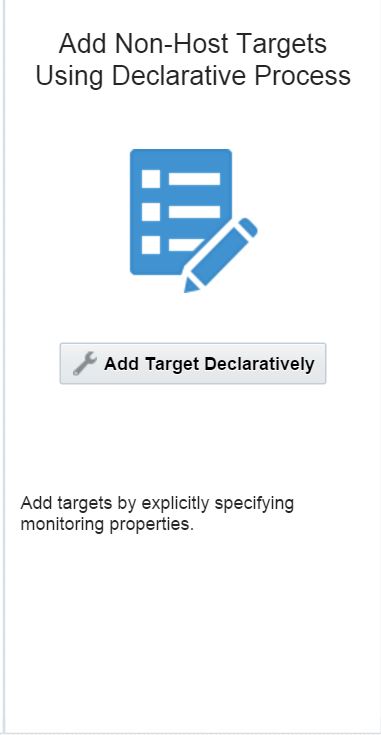
The third option in the manual addition is the adding a target using the declarative method.
Definition, COMPUTING:
Just as the definition shows, this type of target addition is one that allows Enterprise Manager to discover based off a small amount of information offered it.
After clicking on Add Target Declaratively, select the host you want to discover on and the the target type you want Enterprise Manager to search for.
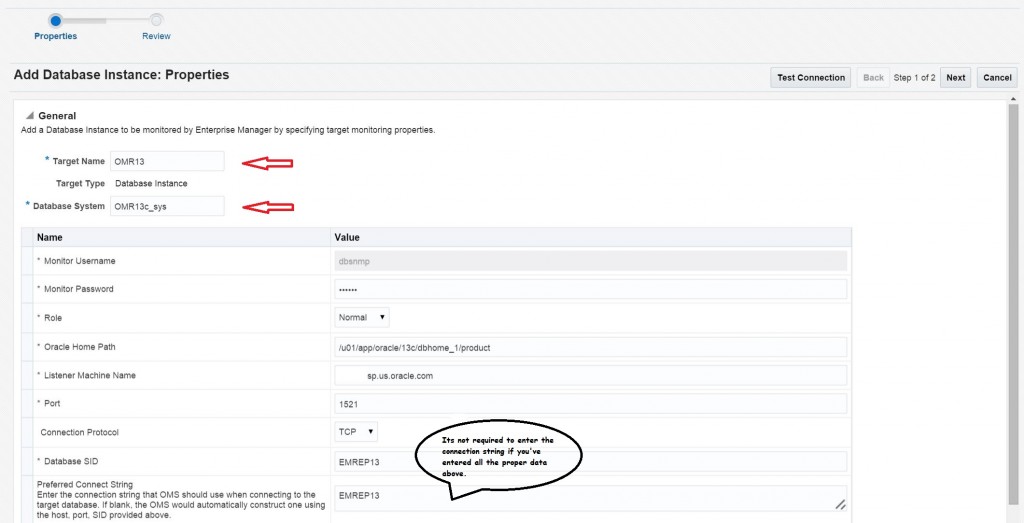
Again, we’ll choose a database instance. Notice that declarative is best used when you’re looking for one target type, not a group that would commonly find included on a target host. In the top area, you can name the target name and since this is an database instance, we also have a database system to name. The name can be a clear and descriptive name, not dependent on the actual SID.
Fill in the information requested, including the username to monitor, password, Oracle home, port and database SID. You can also use the connection string to discover via a simple Listener pass.
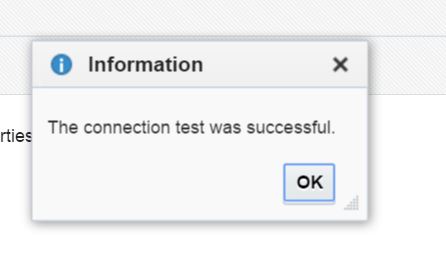
Once you’ve filled the information for the connection, click on Test Connection to verify that it will succeed.
Once its successful, click on Next and complete the target addition.
Not too many changes, but it always helps to be taken through those small changes to see how they can make a great product even better.



have u tried to create a standby database with dataguard wizard?
After last confrm , procedure come back to the first step. can you confirm?
tnx