
While at Collaborate 2016, a number of us were surprised that people still aren’t using Corrective Actions and in EM13c, there are a number of cool ones built into the system to make your life easier. In this post, we’ll use the very valuable, Add Tablespace corrective action to ensure the DBA is no longer woke up at night, automating the tedious task of adding logical space by extending or adding data files.

So let’s talk about how you can stop databases from making you get out of bed to add tablespace… 🙂
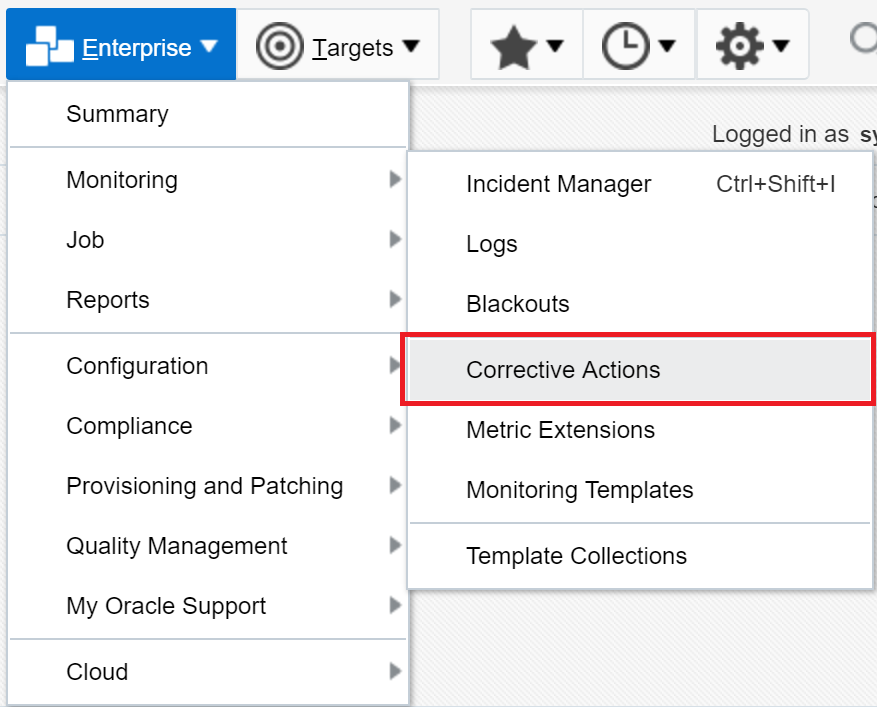
Creating the Corrective Action
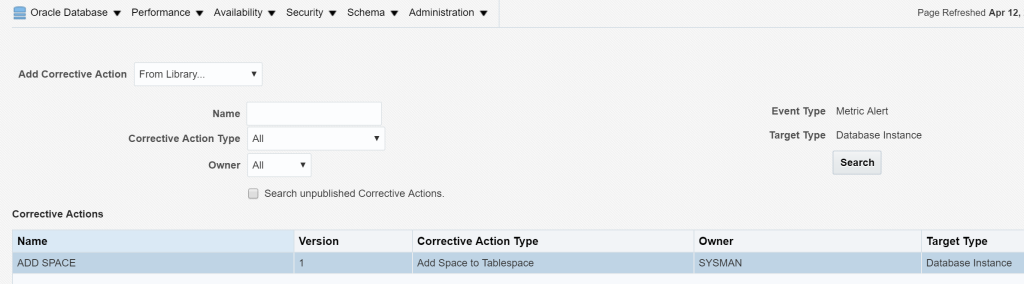
Most of this corrective action is already build out for you. All you ave to do is create the corrective action and use the built in from the corrective action library. Start by clicking on Enterprise -> Monitoring -> Corrective Action Library. Select the Add Space to Tablespace job and click Go.
Name you new Corrective Action, and select the Event Types ‘Metric Alert’. This ensures that the corrective action only runs when it meets the metric threshold.
Next, click on the Parameters tab to customize how the space should be added, the location of the space and other pertinent information. Once you’ve finished filling in all of this criteria, click on Save to Library.

This Corrective Action isn’t production yet, as with any full development life cycle, the Corrective Action is now set to Draft and you will have to Publish it before it’s available for use.
Highlight the new Corrective Action and click on Publish. That’s all there is to it.
Utilizing a Corrective Action
Now we need to assign the Corrective Action to a target to be used when it meets the metric threshold criteria.
Clock on Targets -> Databases and choose one of your databases that you wish to set up to use the corrective action. Once you come to the Oracle Database Home page, click on Oracle Database -> Monitoring -> Metric & Collection Settings.
In the list of metrics, scroll down till you see Tablespace Full. Choose to edit the metric Tablespace Used (%).

At the bottom of the page, you’ll see a section that says All Others with a radio button, click on Edit. In the Corrective Actions section, Click on Add next to the Warning row.
Leave the default to use the Library and choose your Corrective Action you created earlier to add space. Ensure you add the correct Named Credentials that will be able to add the space, just as you would use to perform this task in the UI or as a DBA on the host and click Continue.
We’ve set this to perform the Corrective Action at warning, so there is never a time it will reach Critical and hit an out of space issue before it may be able to complete the Corrective Action, ensuring everyone is able to rest without worry!
Ensure you Continue and Save the Changes to your metric settings and that’s all there is to it. To test the Corrective Action, you can add a small test tablespace to a database, limited size and create a table that maxes it out. It should add space automatically when it reaches the warning threshold.
Sweet Dreams from Kellyn and your Enterprise Manager 13c!