Enhancing A Moving Art Project to Beginning Robotics with Raspberry Pi
Back on August 7th, the RMOUG’s Quarterly Education Workshop, I walked everyone through using a Pibrella board to create an art or flyer project that was powered with a python script and a motor.
Today, we’re going to take that same code and reuse it with a simple robotics kit to control power and rotation speeds/time to the Insectoid. This kit, puchased from the Go! store in Flat Irons Crossing mall, was $16 and can be built in less than an hour, even for a small child. If you’re interested, you can also purchase the kit online at Amazon, but it was cheaper for me in the store to get him than online…
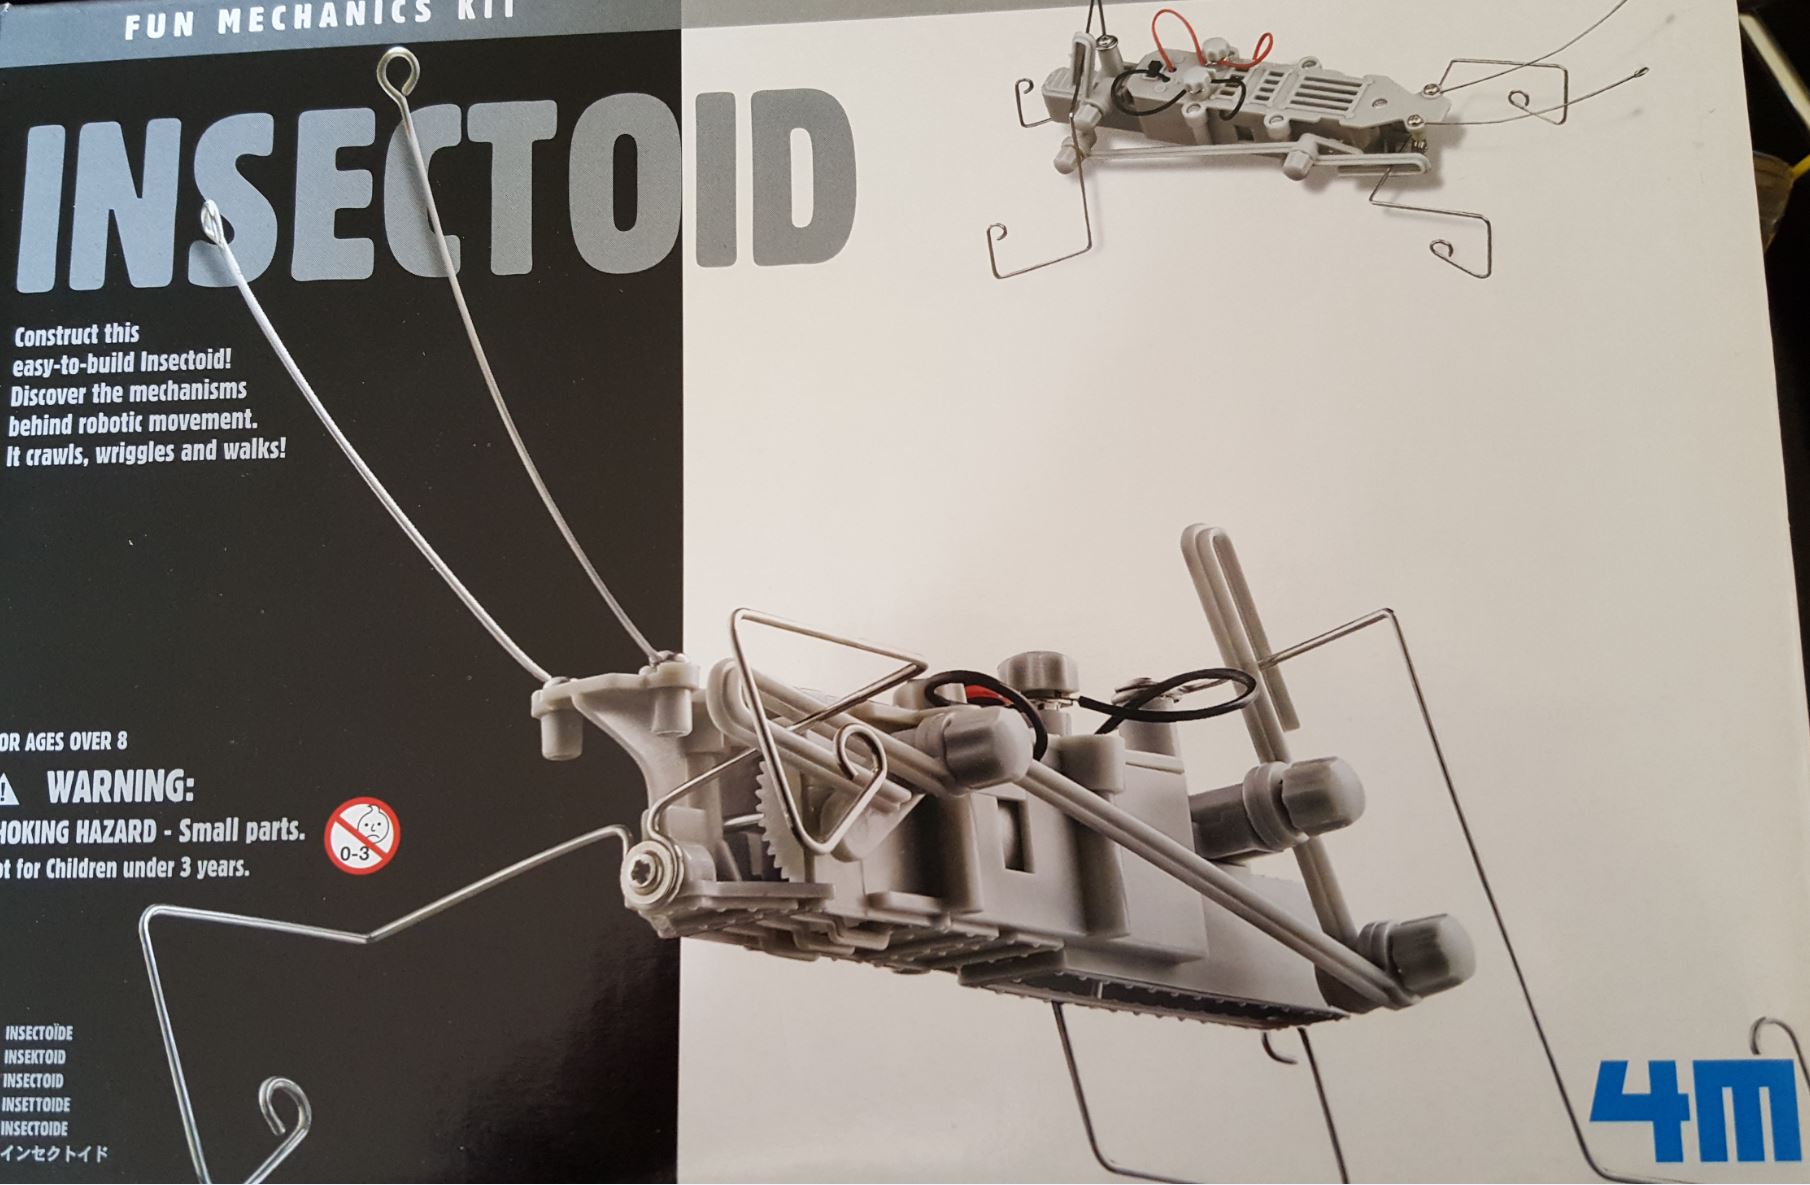
It requires only a small screw driver and is powered by a AAA 1.5 volt battery. With the power required to the motor, I recommend leaving the battery wired in and the device off, (Raspberry Pi will be glad to supplement the power and you’ll know if you’ve overwhelmed your power requirements to a secondary project just by the sudden cycle of the OS, so keep this in mind….)
After following the instructions and assembling the gears, the body and legs to complete the robotic insectoid, test it out with the battery and power switch. Once he tests successfully, then comes the fun part of wiring him to the Pibrella board to control him from our Raspberry Pi.
Using red and black female/male breadboard jumper wires like the ones below-
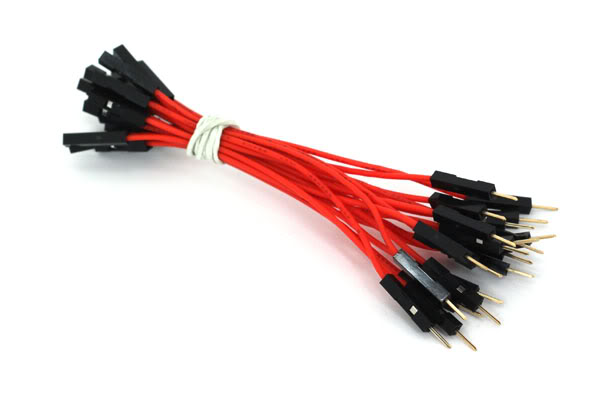
Create a long black and long red “extension” to connect the insectoid to the Pibrella board. Now, undo the cap that is connecting the battery and motor wires to the top of the Insectoid. If the battery is wired into the motor wire in a way that makes the motor wire inseparable from it, re-wrap the battery wire to the motor wire at the base, leaving just the motor battery straight. Take the motor battery, matching black to black and red to red, inserting the motor wire into the female jumper wire “extension” and ensure it’s tight. You shouldn’t need any electrical tape to secure it and it should look like the following picture when you’re finished.
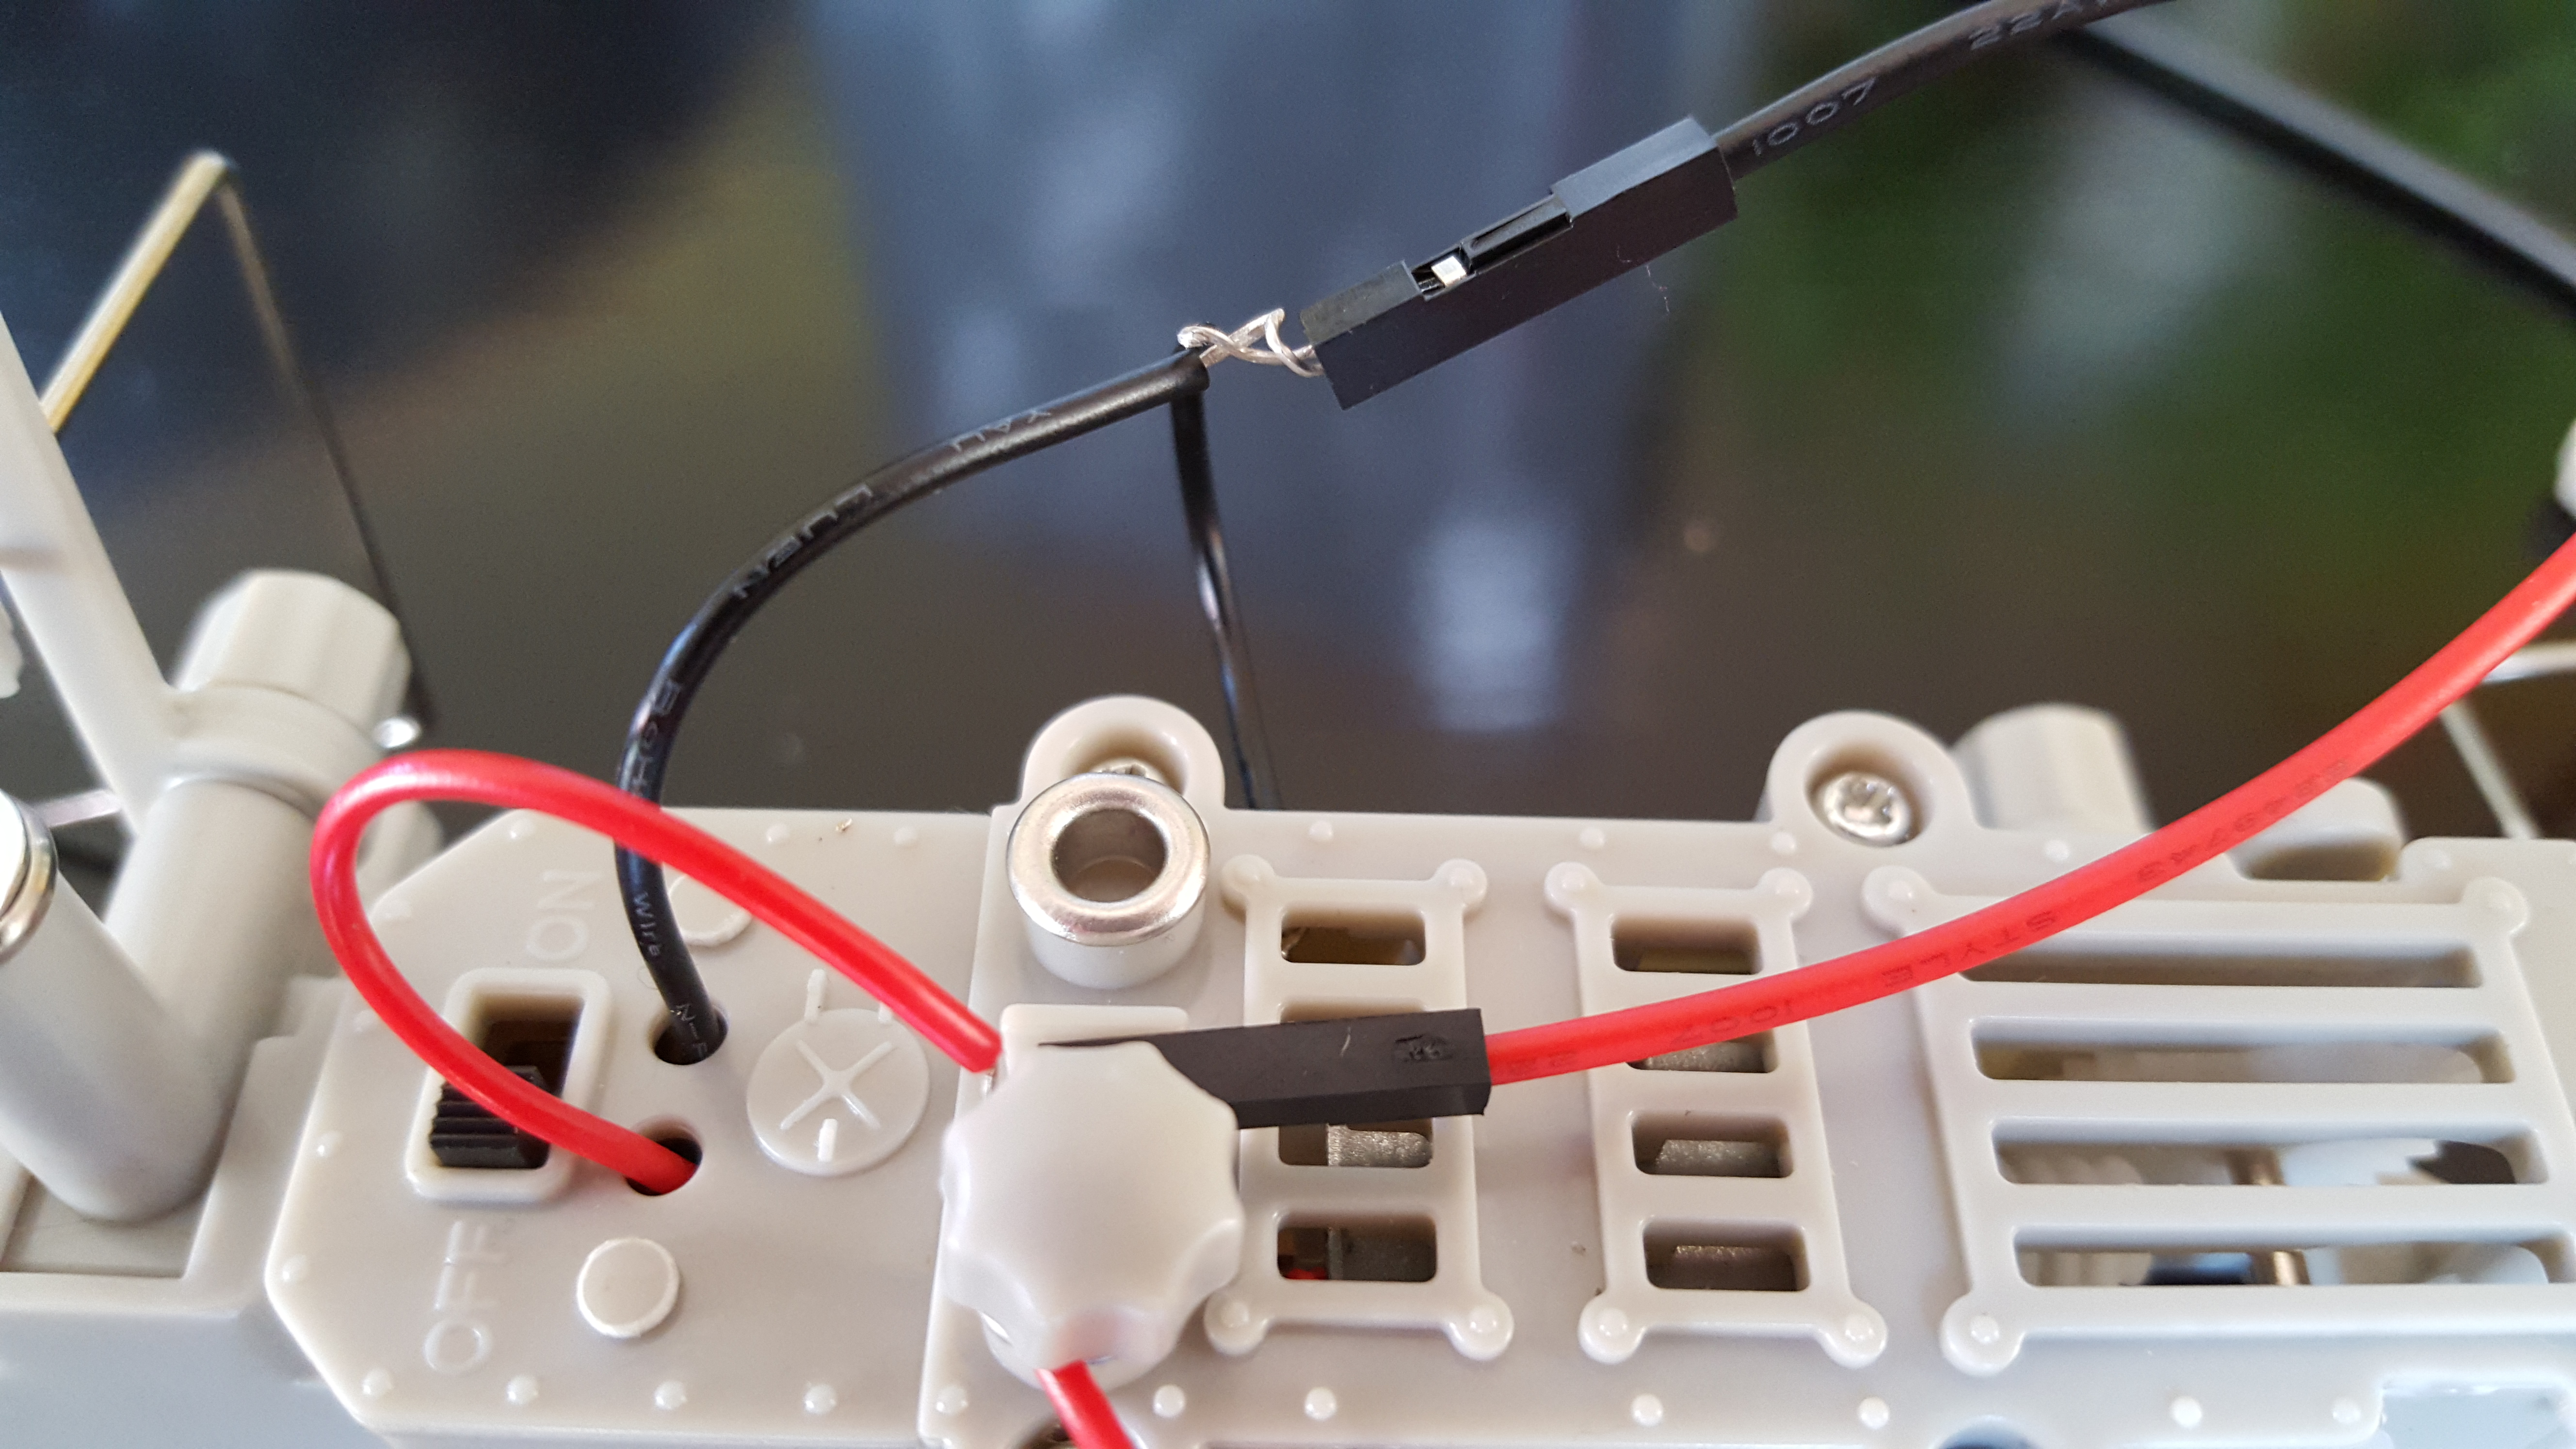
You can re-secure the connections under the cap after you’ve added the connection to the female jumper, (as seen for the red, (negative) connector.
Once this is done, it’s time to “recycle” our python script. Log into the Raspberry Pi and open up a Terminal window. Review your Python script from the earlier project OR just create a new python script, (.py) in your favorite text editor and type in the following-
 import pibrella
 import time
while true:
 if pibrella.button.read():
 pibrella.output.e.on()
 time.sleep(10)
 pibrella.output.e.off()
 cleanup()
You must have a Pibrella card connected to your Raspberry Pi or you’ll need to follow instructions for controlling a motor with GPIO commands, etc. that can be found here.
The Python code does the following:
- imports the Pibrella module to use the Pibrella board, (you can do this with a bread board and the Raspberry Pi directly, just love the Pibrella, makes it so much easier.)
- import the TIME module to instruct our code how long to perform a specific function.
- Then- after the button on the Pibrella is pushed
- turn the pibrella GPIO on and the wires attached are to run the motor.
- for TEN seconds
- Then shut off and break out.
You execute the script as we do any of our python scripts, using Python 3-
>sudo python3 <name of script>.py
A video of the run with the robotics project can be seen on YouTube.
The next step is to enhance our script and have our robot do more than just walk forward and/or stop at a certain time. We’ll want to build out a robot to have a Raspberry Pi control board ON BOARD and control his movements to turn, go in reverse and so forth.
Until next time-