Azure is the second most popular cloud platform to date, so it’s where Delphix naturally is going to support second on our road to the cloud. As I start to work with the options for us deploying Delphix, there are complexities I need to educate myself on in Azure. As we’re just starting out, there’s a lot to learn and a lot of automation we can take advantage of. It’s an excellent time for me to get up to speed with this cloud platform, so hopefully everyone will learn right along with me!
We’ll be using Terraform to deploy to Azure, just as we prefer to use it for our AWS deployments. It’s open source, very robust and has significant support in the community, so we’ll switch from cloud setup to Terraform prep in many of these posts. Before we can do that, we need to set up our Azure environment after we’ve registered our subscription with Azure.
Azure Consoles
There are the New and the Classic consoles for Azure, but also ones in the modern, New console that are marked as “Classic” that aren’t part of the actual “Classic” one. I found this a bit confusing, so it’s good to have the distinction.
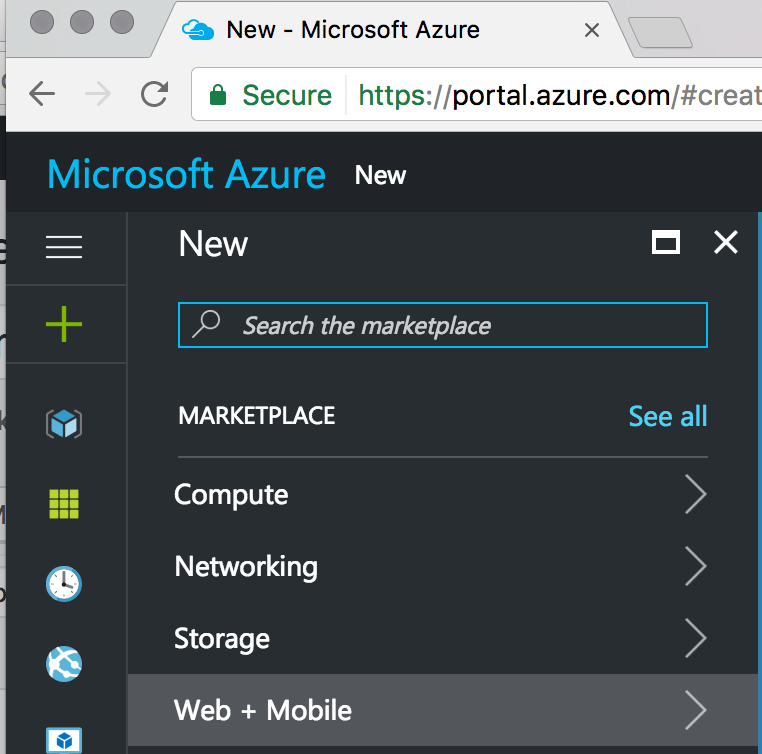
Azure’s “New” Portal, with it’s modern, sleek design
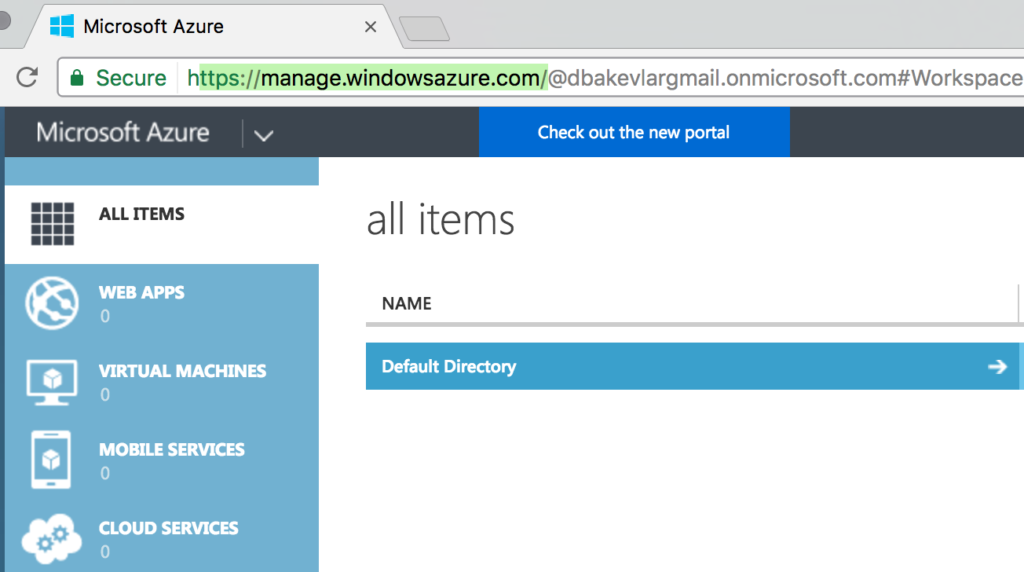
Azure’s “Classic” management interface, with it’s pale blue and white schema, which still serves a very significant purpose
Once you’ve created your Azure account, you’ll find that you need access to the Classic console to perform many of the basic setup tasks, where the Modern console is better for advanced administration.
Preparation is Key
There are a number of steps you’ll need to perform in preparation for Delphix to deploy to Azure. The delphix engine, a source and a target are out goal, so we’ll start simple and work our way out. Let’s see how much I can figure out and how much I may need to look to others more experienced to get me through. No matter what, you’ll need both consoles, so keep the links above handy and I’ll refer to the consoles by “New” and “Classic” to help distinguish them as I go along. Know that in this post, we’ll spend most of our time in the Classic console.
Set up an Account and Add Web App
If you don’t already have one, Microsoft will let you set up an account and even give you $200 in free credits to use. Once you sign up, then you need to know where to go next. This is where the “Classic” console comes in, as you need to set up your “application” that will be used for your deployment.
Log into the “Classic” console and click on Active Directory and the Default Directory highlighted in blue. This will open a new page and you will have the opportunity to click Add at the bottom of the page to add a new Active Directory application.
- Name the Application, (open up a text editor, copy and paste the name of the app into it, you’ll need this data later)
- The application type is web app or api
- Enter a URL/URI and yes, they can be made up. They don’t have to be real.
Client and Client Secret
Now that your application is created, you’ll see a tab called Configure. Click on this tab and you’ll see the client ID displayed. Copy the Client ID and add that to your text editor, also for later.
Scroll down and you’ll see a section called Keys. Click on the button that says “Select Duration” and choose 1 or 2 years. At the very bottom of the screen, you’ll see a Save button, click it and then the Secret passcode will be displayed for you to copy and paste into your text editor. Do this now, as you won’t be able to get to it later.
Tenant ID
To the left of the Save button, you’ll see “View Endpoints”. Click on this and you’ll see a number of entries. The tenant ID is the repeat value shown in each of the entries at the end. An example is shown below:
Copy and paste this into your text editor under a heading of tenant ID.
Add Application to the Active Directory
Now that you’ve created this framework, you need to grant permissions to use it all. In the Configure tab, scroll to the very bottom where it says “Permissions to Other Applications” and click on Add Application. Choose the Active Directory application from the list, (if you have a new account, you won’t have much to choose from) Azure Service Management API and click on the checkmark in the lower right corner of the pane. This will return you to the previous page. Click on the designated privileges and choose to grant it Access Azure Service Management as organization and then save.
Subscription Data
Now, log into the New portal and click on Subscriptions on the left hand side. Click on the Subscription and it will open up to display your Subscription ID, which you’ll need to copy and paste into your text editor.
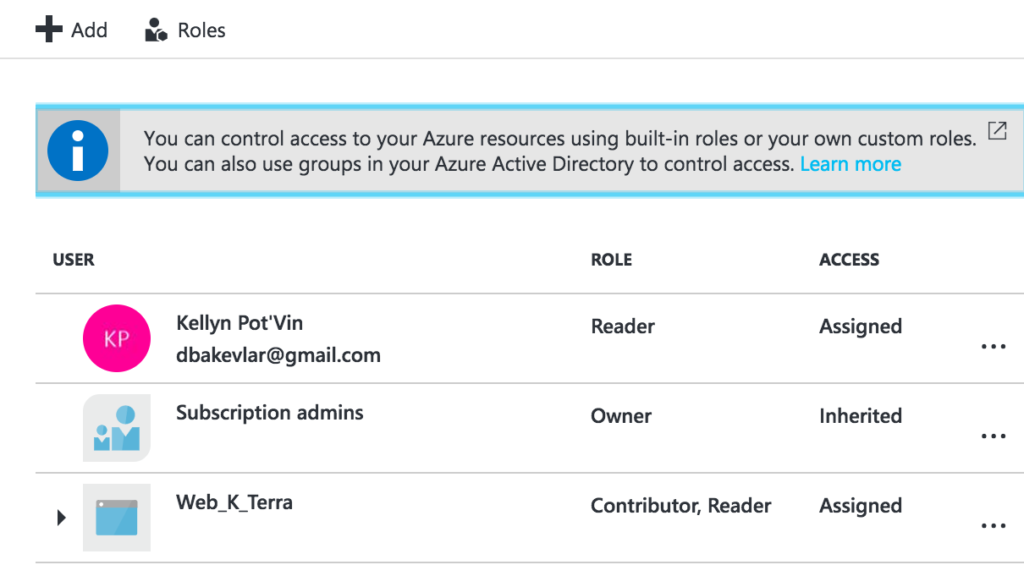
Click on Access Control, (IAM) and click on Add. Now you may only see your username, but the applications are there- they just won’t be displayed by default. Type in your application name that you put in your text editor, (example, mine is Web_K_Terra.) Reminder- you must type in the name of your app, just as you did when you created it, (it is cap sensitive, etc.) Grant reader and contributor roles from the role list, saving between each additional role.
You should now see your user in the list with both roles assigned to it like the example below for Web_K_Terra app:
Our configuration is complete and ready to go onto the networking piece.
The first part of my terraform template is ready, too. All the pertinent data that I required from my build out has been added to it and it looks something like the following:
provider “Web_K_Terra” {
subscription_id = “gxxxxxxx-db34-4gi7-xxxxx-9k31xxxxxxxxxp2”
client_id = “d76683b5-9848-4d7b-xxxx-xxxxxxxxxxxx”
client_secret = “trKgvXxxxxxXXXXxxxXXXXfNOc8gipHf-xxxxxxXXx=”
tenant_id = “xxxxxxxx-9706-xxxx-a13a-4a8363bxxxxx”
}
This is a great start to getting us out on Azure, in part II, we’ll talk about setting up connectivity between your desktop and Azure for remote access and recommendations for tools to access it locally.


