
If you have the Diagnostics/Tuning Management Packs and EM12c, you should be installing ASH Analytics to get the full benefit of optimization data that is available via the AWR and ASH. ASH Analytics is the future of the Top Activity view and I’ve written a number of posts on the value of the ASH Analytics product.
With EM12c Release 4, there are a few, small improvements in the ASH Analytics installation. Where before, there were some challenges to verification of installation success, checking the status of a scheduled installation job, now it’s much easier.
If the ASH Analytics package hasn’t been deployed to a database, (no fear, it’s just deploying the views and synonyms to present the data and filtered views….) the installation page will come up the first time you click on Performance, ASH Analytics, the installation wizard will begin.

Ensure that you have your preferred credentials set up before you attempt the install for the database in question or the installation will fail, (in previous versions, it failed upon creation of a “New” Preferred Credential, too..) I have a tendency to set up my preferred credentials upon accessing a database the first time, so I didn’t get to test this out with Release 4.
You can choose to install from the wizard or you can schedule the installation. There were a few minor changes to the Advanced Installation option, so we’re going to configure our installation with the EM Job Service.
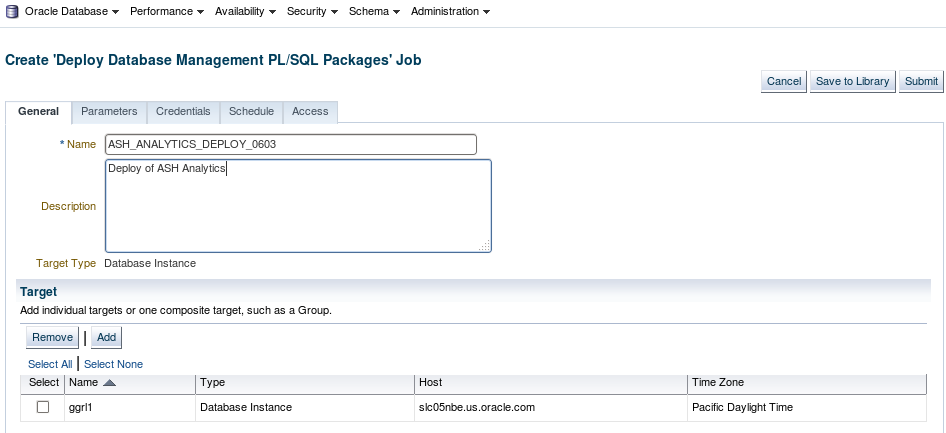
Just as with standard job scheduling, (but please, do notice the new, enhanced job service interface… :)) add a defined job name and clear description. The database target has already been added by default, so you get to skip this step.
Next, let’s check credentials that will be used to run the job:

Here’s where we’ve chosen to use our Preferred Credentials that are already set. You must use a Preferred Credential that has access to the AWR to complete the installation successfully.
Now click on Schedule-
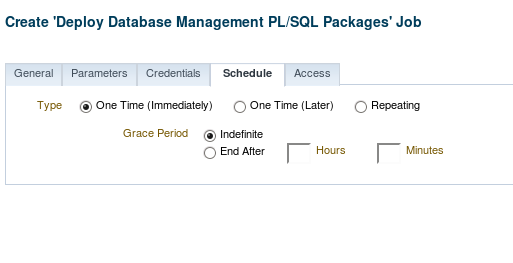
By default, the job would be run immediately, but we wouldn’t have chosen the Advanced Installation option unless we wanted to install at a later time. There is never a reason to perform it Repeating, so we’ll ignore this option and inspect our One Time(Later) option.

I’ve chose to run it on PST, (you can change this to another TZ, so note this…) I’ve then chosen a start date and start time preference and haven’t set a Grace Period, as I want this job to just run to completion without any limits, (it’s a small job, Oracle package so no reason to set this…)
Next we click submit and we see our job in the Job Activity View:
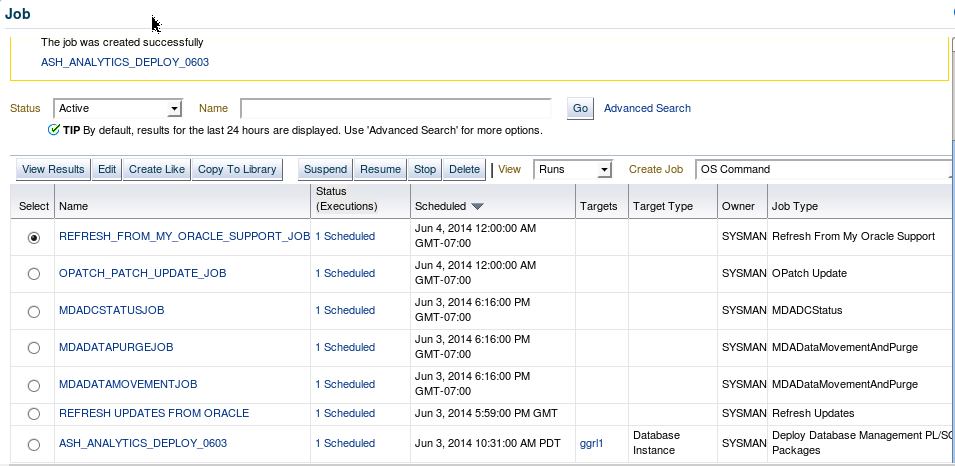
We can clearly see, not just our standard jobs, but the ASH Analytics job at the bottom. We can click on the ASH_ANALYTICS_DEPLOY_0603 link and go to the job activity page.
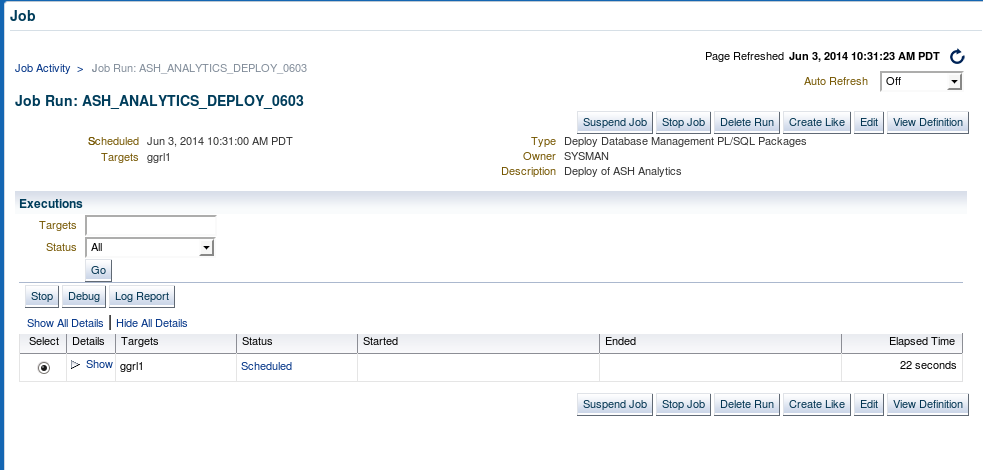
You can refresh the job status and see it change from Scheduled, to Running and if you followed my few requirements, to Successful.

Note how long it took to complete the job run- 4 seconds…. 🙂 Just compiled the package installation and ready to go!
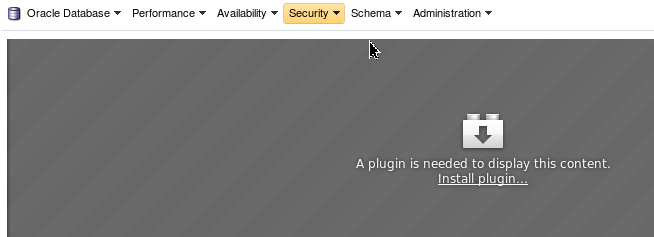
Whoops, last piece- ASH Analytics is currently displayed in Adobe Flash. If you don’t have the plugin installed in your browser, you’ll need to install this on your workstation/server to view the webpage. Click on Install Plugin and follow the instructions for the browser to complete the plugin installation.
OK, we’ve started out with baby steps into Release 4 of EM12c by looking at the new Job Service through an ASH Analytics installation, next up? ADDM Real Time and Comparison Enhancements!

I love the fact that your blog alerted me to 12.1.0.4 before my oracle leads and various subscriptions did (in fact, I had to announce it back to them!) Keep up the good work on the bleeding edge and dont forget to fight that good fight for the consumer that you once were !
Hi
Is there any overhead of ASH Analytics package? Do they install in SYSAUX?