
Its quite common that the first time you work with a feature in a cloud interface, it can appear so foreign until you’ve done it a few times. If it’s a task that you may not do often or only once, it can be downright painful. It doesn’t matter who the cloud provider is or the application, we all have felt the pain of this type of situation and why some of us even started blogging…:) Until its familiar, it may not feel comfortable and you may not even like how it works.

As a newer employee at Microsoft, I’m often learning right along with my customers. Lucky for me, I learn quick, but I feel their pain and if something slows me down, then I know it will for the customer, too. One of the tasks that I noticed tripped us up in configuring SQL Database on Azure was configuring the firewall for SSMS, (SQL Server Management Studio) or Visual Studio, (VS) access. We all know that having access for SSMS is important for many DBAs to have a single pane of glass for database management and for me, well, I like to do everything in Visual Studio- I’m just strange that way.
The Set up
To configure access for SSMS to access SQL Database, log into your Azure portal, then click on the database you wish to configure access for, (sorry folks, I need this play environment for a while, so I’ve removed some info from the screenshots):
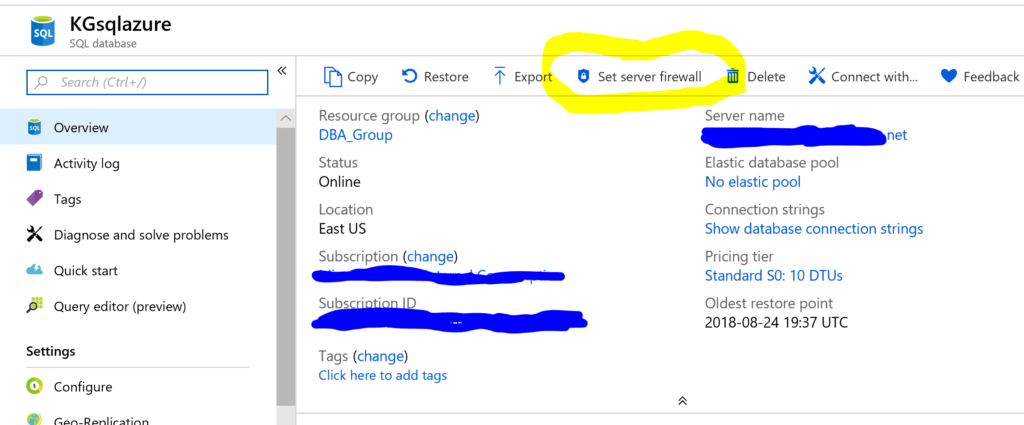
Click on Set Server Firewall at the top, which will bring you to the following screen:
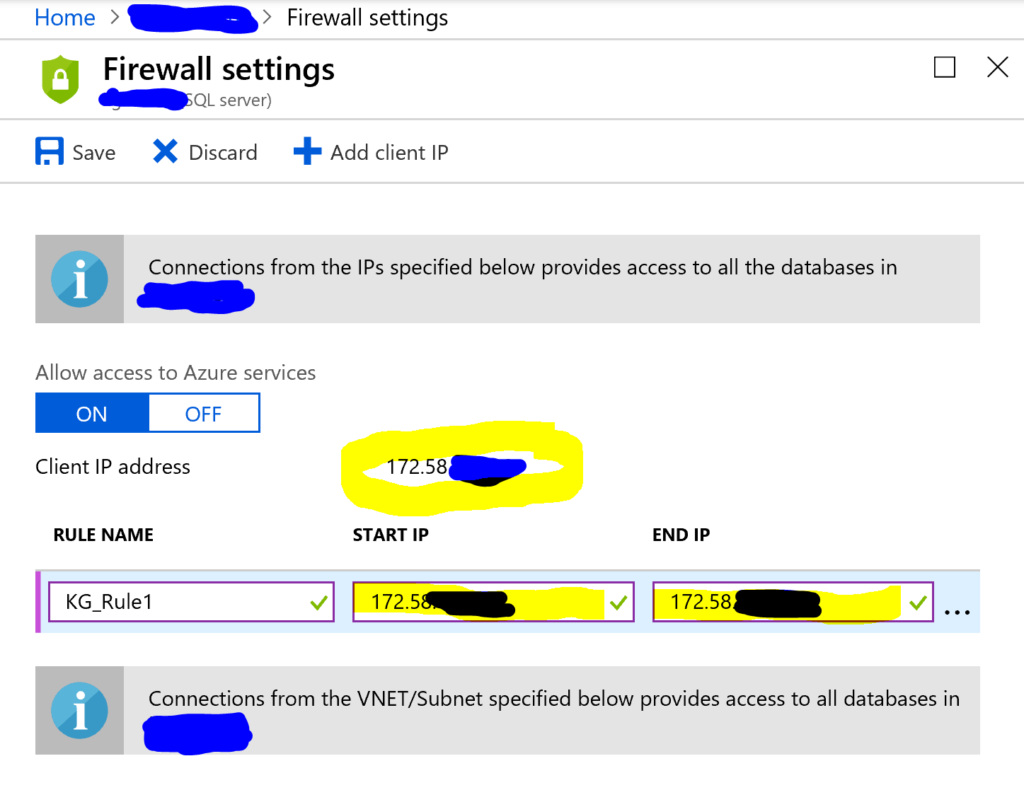
The one thing I really like about Azure is that it displays your IP address in the console, assuming this may be the information you require. If you are attempting to add this to access a local installation of VS or SSMS, simply enter in an identifying name for your rule and then add the IP address or a range of IP Addresses in the Start IP and End IP field, then click Save.
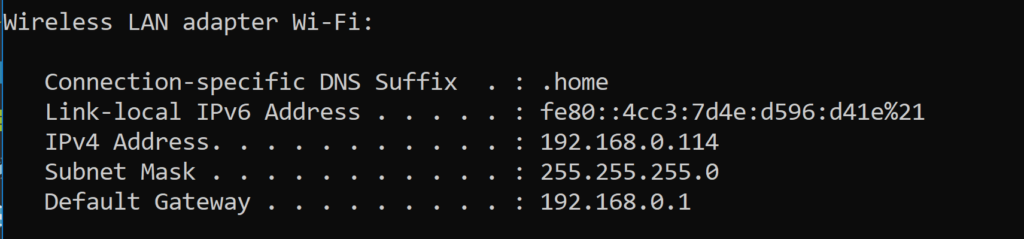
If you need to retrieve the IP address for another host or workstation, you can do this by opening the command prompt and type in ipconfig. From there, look at the IPv4 address:
Now know that if you work from numerous WiFi, MiFi and other network connections, your IP Address will change. If your IP address changes, you’ll need to add a new rule or if it’s a temporary location, just remove the rule and create a new one for your new access point to keep things uncluttered.
Connect Time
Once this is performed, it’s time to connect to your Azure SQL Database. If you’re asking me how you find that information, let’s go back to our main page for the database:
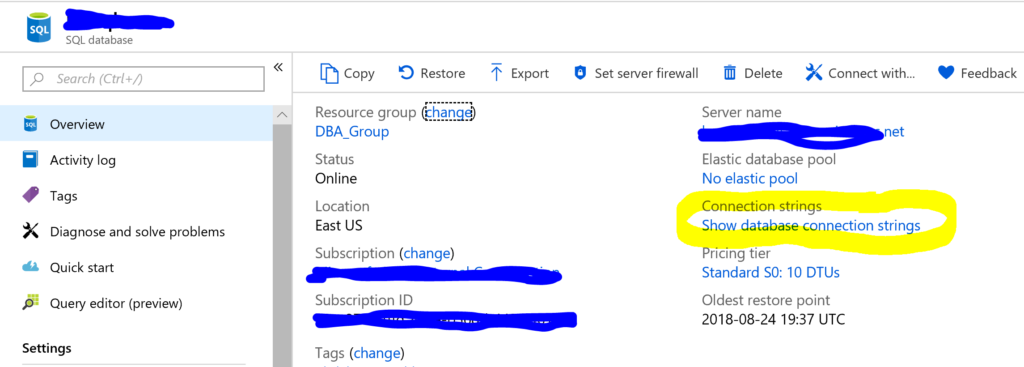
Clock on the link for Show database connection strings and it will take you to the following, displaying the JDBC.net connection info in the second tab:
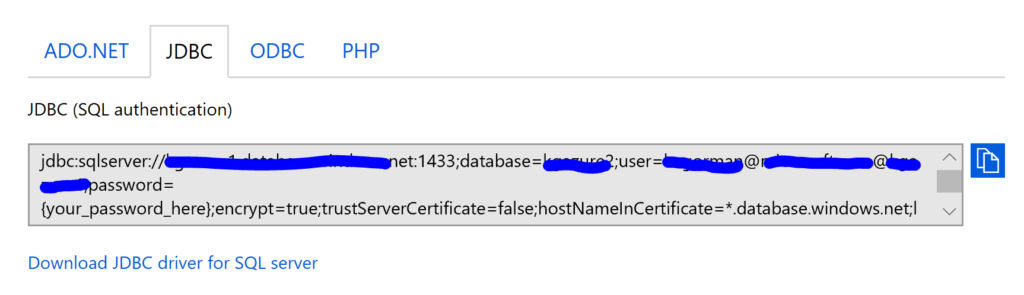
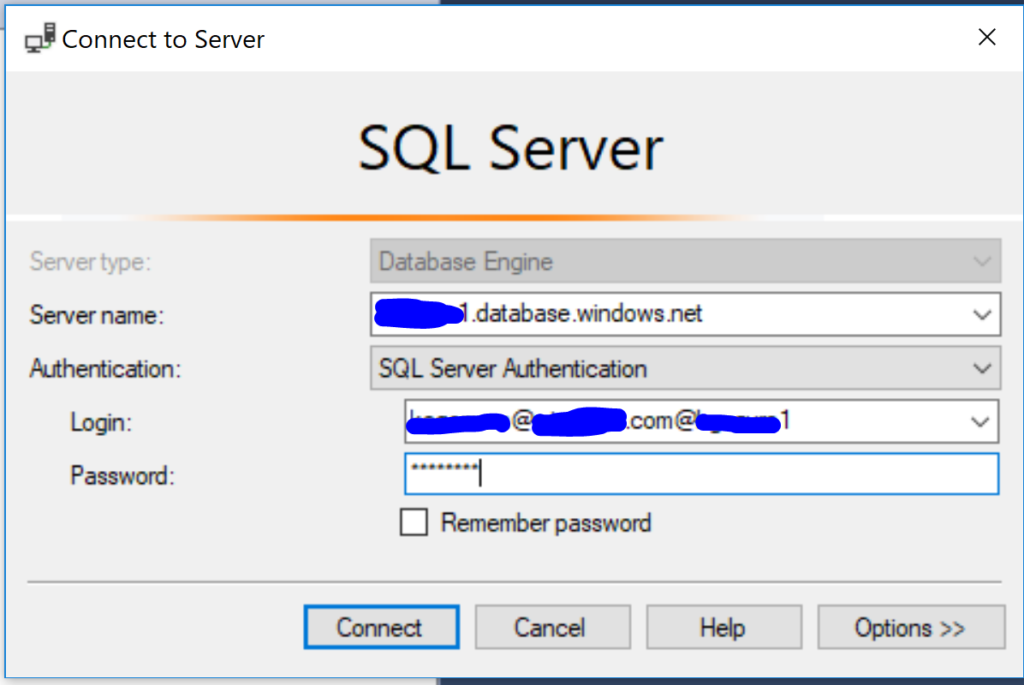
Well, look there, all you need is the first thing displayed after Server=. Note that it’s a “,” and not a “:” between the server name and the port, as you’ll need to do the same in SSMS or VS when you enter the connection. Your user name has an addition too: Username@domain.com@sql database name.
After you enter this, use the password you configured your database with. If you forgot, the main page in the portal has a “reset password” link for you to update it.
You’ll then connect with something that looks like the following:
I can then switch to a user database and manage Azure SQL Databases just as I have if they were on-prem. Enjoy!