
Everything I do with the Raspberry Pi is about finding ways to incorporate STEAM, (Science, Technology, Engineering, Art and Math) into my projects. This is no easy feat, but I have a lot of fun while I try. This latest project, we’re still working on ways to “enhance” and understand how code can be used with multiple projects and to satisfy multiple requirements.
Science Kit Projects, to the Nth Level
Our first project used DC motors to make an art project or spinner turn at the appropriate rotation required. I then was able to repurpose this same code to bypass a battery operated Insectoid to control it with the Raspberry Pi and now, I’m going to use it to bypass the original battery operated project to control TWO motors, operating at opposite directions to launch paper airplanes.
Now what’s nice about these projects, is that 4M kits come in all designs, but the ones I like are the ones that have battery packs. If they have battery packs, they’re trying to power something and that something can be then redirected to the Raspberry Pi and controlled through code.
This means you’ll focus in the product area categorized as “Mechanic Fun“. What’s great about these kits is that your kid gets to build something that has a set of instructions, has the same gears, motors and other pieces that they would use in their own projects as their skills develop and more than anything else, often has a “base” or set of “frames” that are professionally designed that offer a huge success rate for the project. Once the project is built, the original goal “swerves” to rewire it to the Raspberry Pi and the “hacking” begins to first wire it to the GPIO or Pibrella board. After you’ve successfully rewired it, then you need to update your code to match the requirements for the new project and control the motor or the gears properly.
Building out the Air Plane Launcher
The kit came with a good amount of parts. The hardest part was getting the engines mounted into the frame and it took a bit of dish soap around the openings to get them to fit into the rubber molds, (it was a tight fit and you had to be careful not to bend the shaft on the stepper motor, which is made of a soft, conductive metal.)
One of the benefits of the 4M products, is that it eliminates any soldering. the wires either attach to the motor and plastic covers secure the connections or in case of the wires from the battery compartment and subsequently where the Raspberry Pi comes in, the jumper wires that will then attach to the GPIO out, there is simply a set of screws that are tightened to attach them to the rest of the unit.
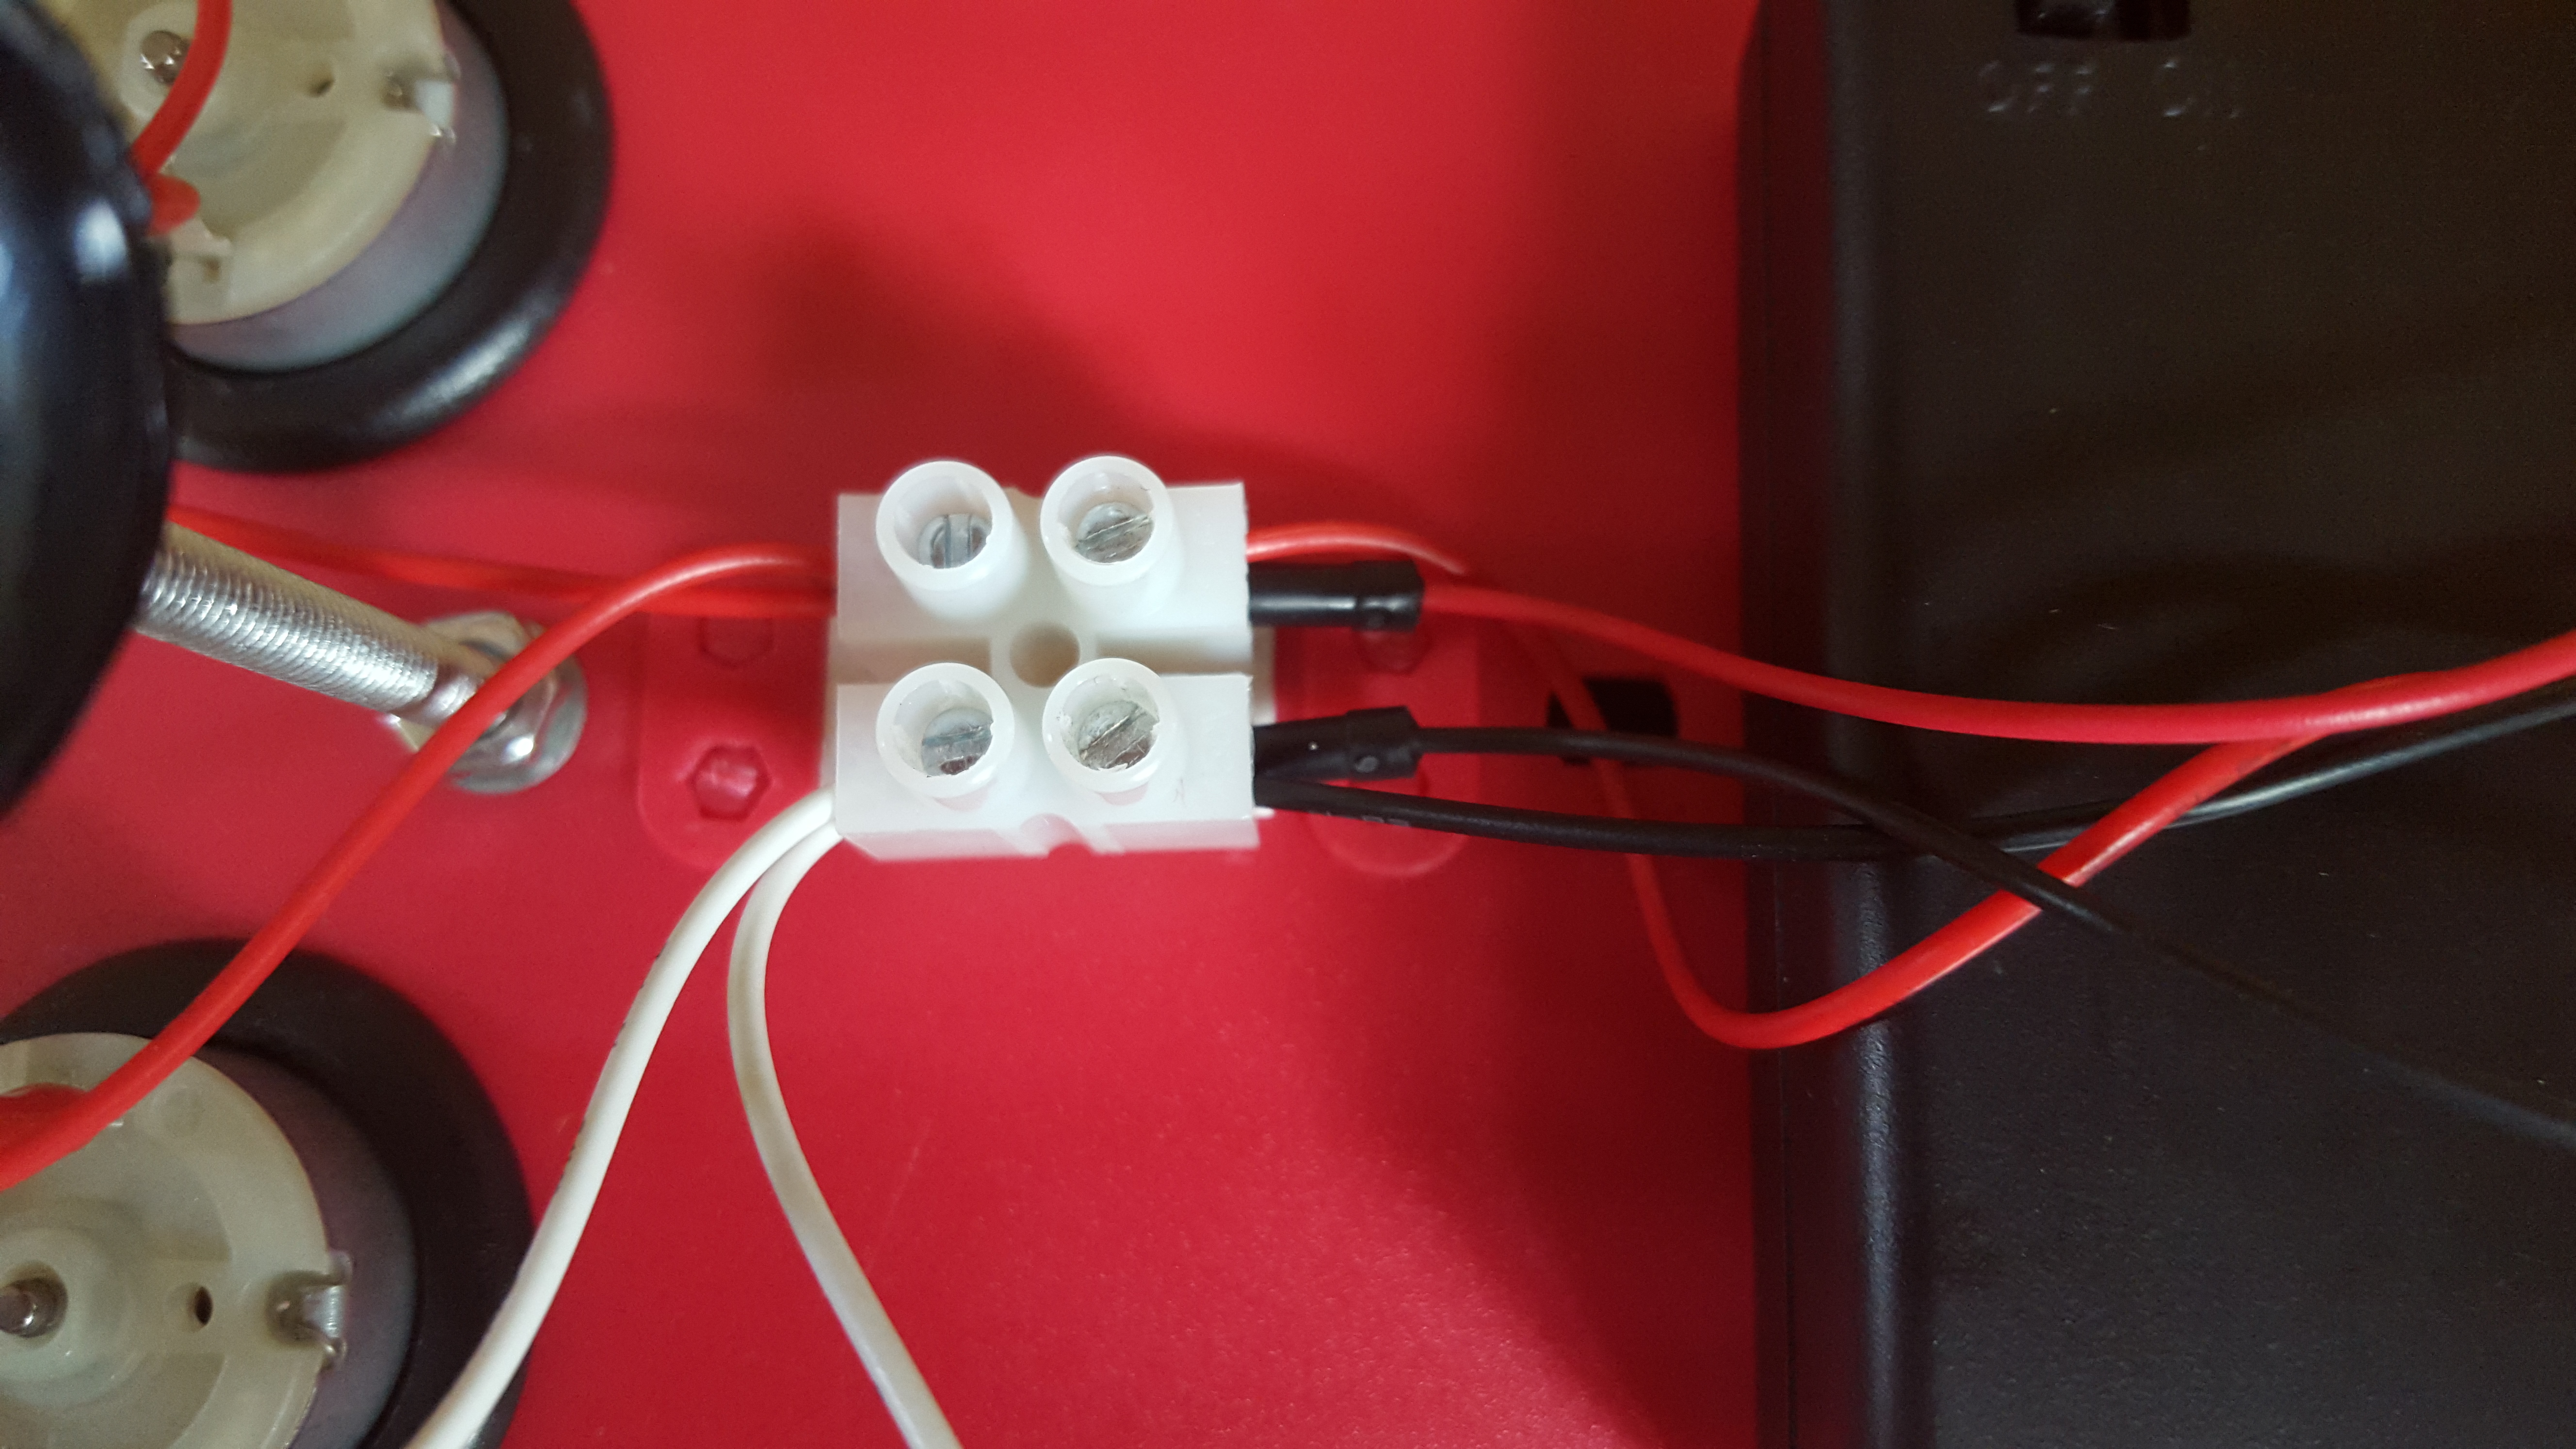
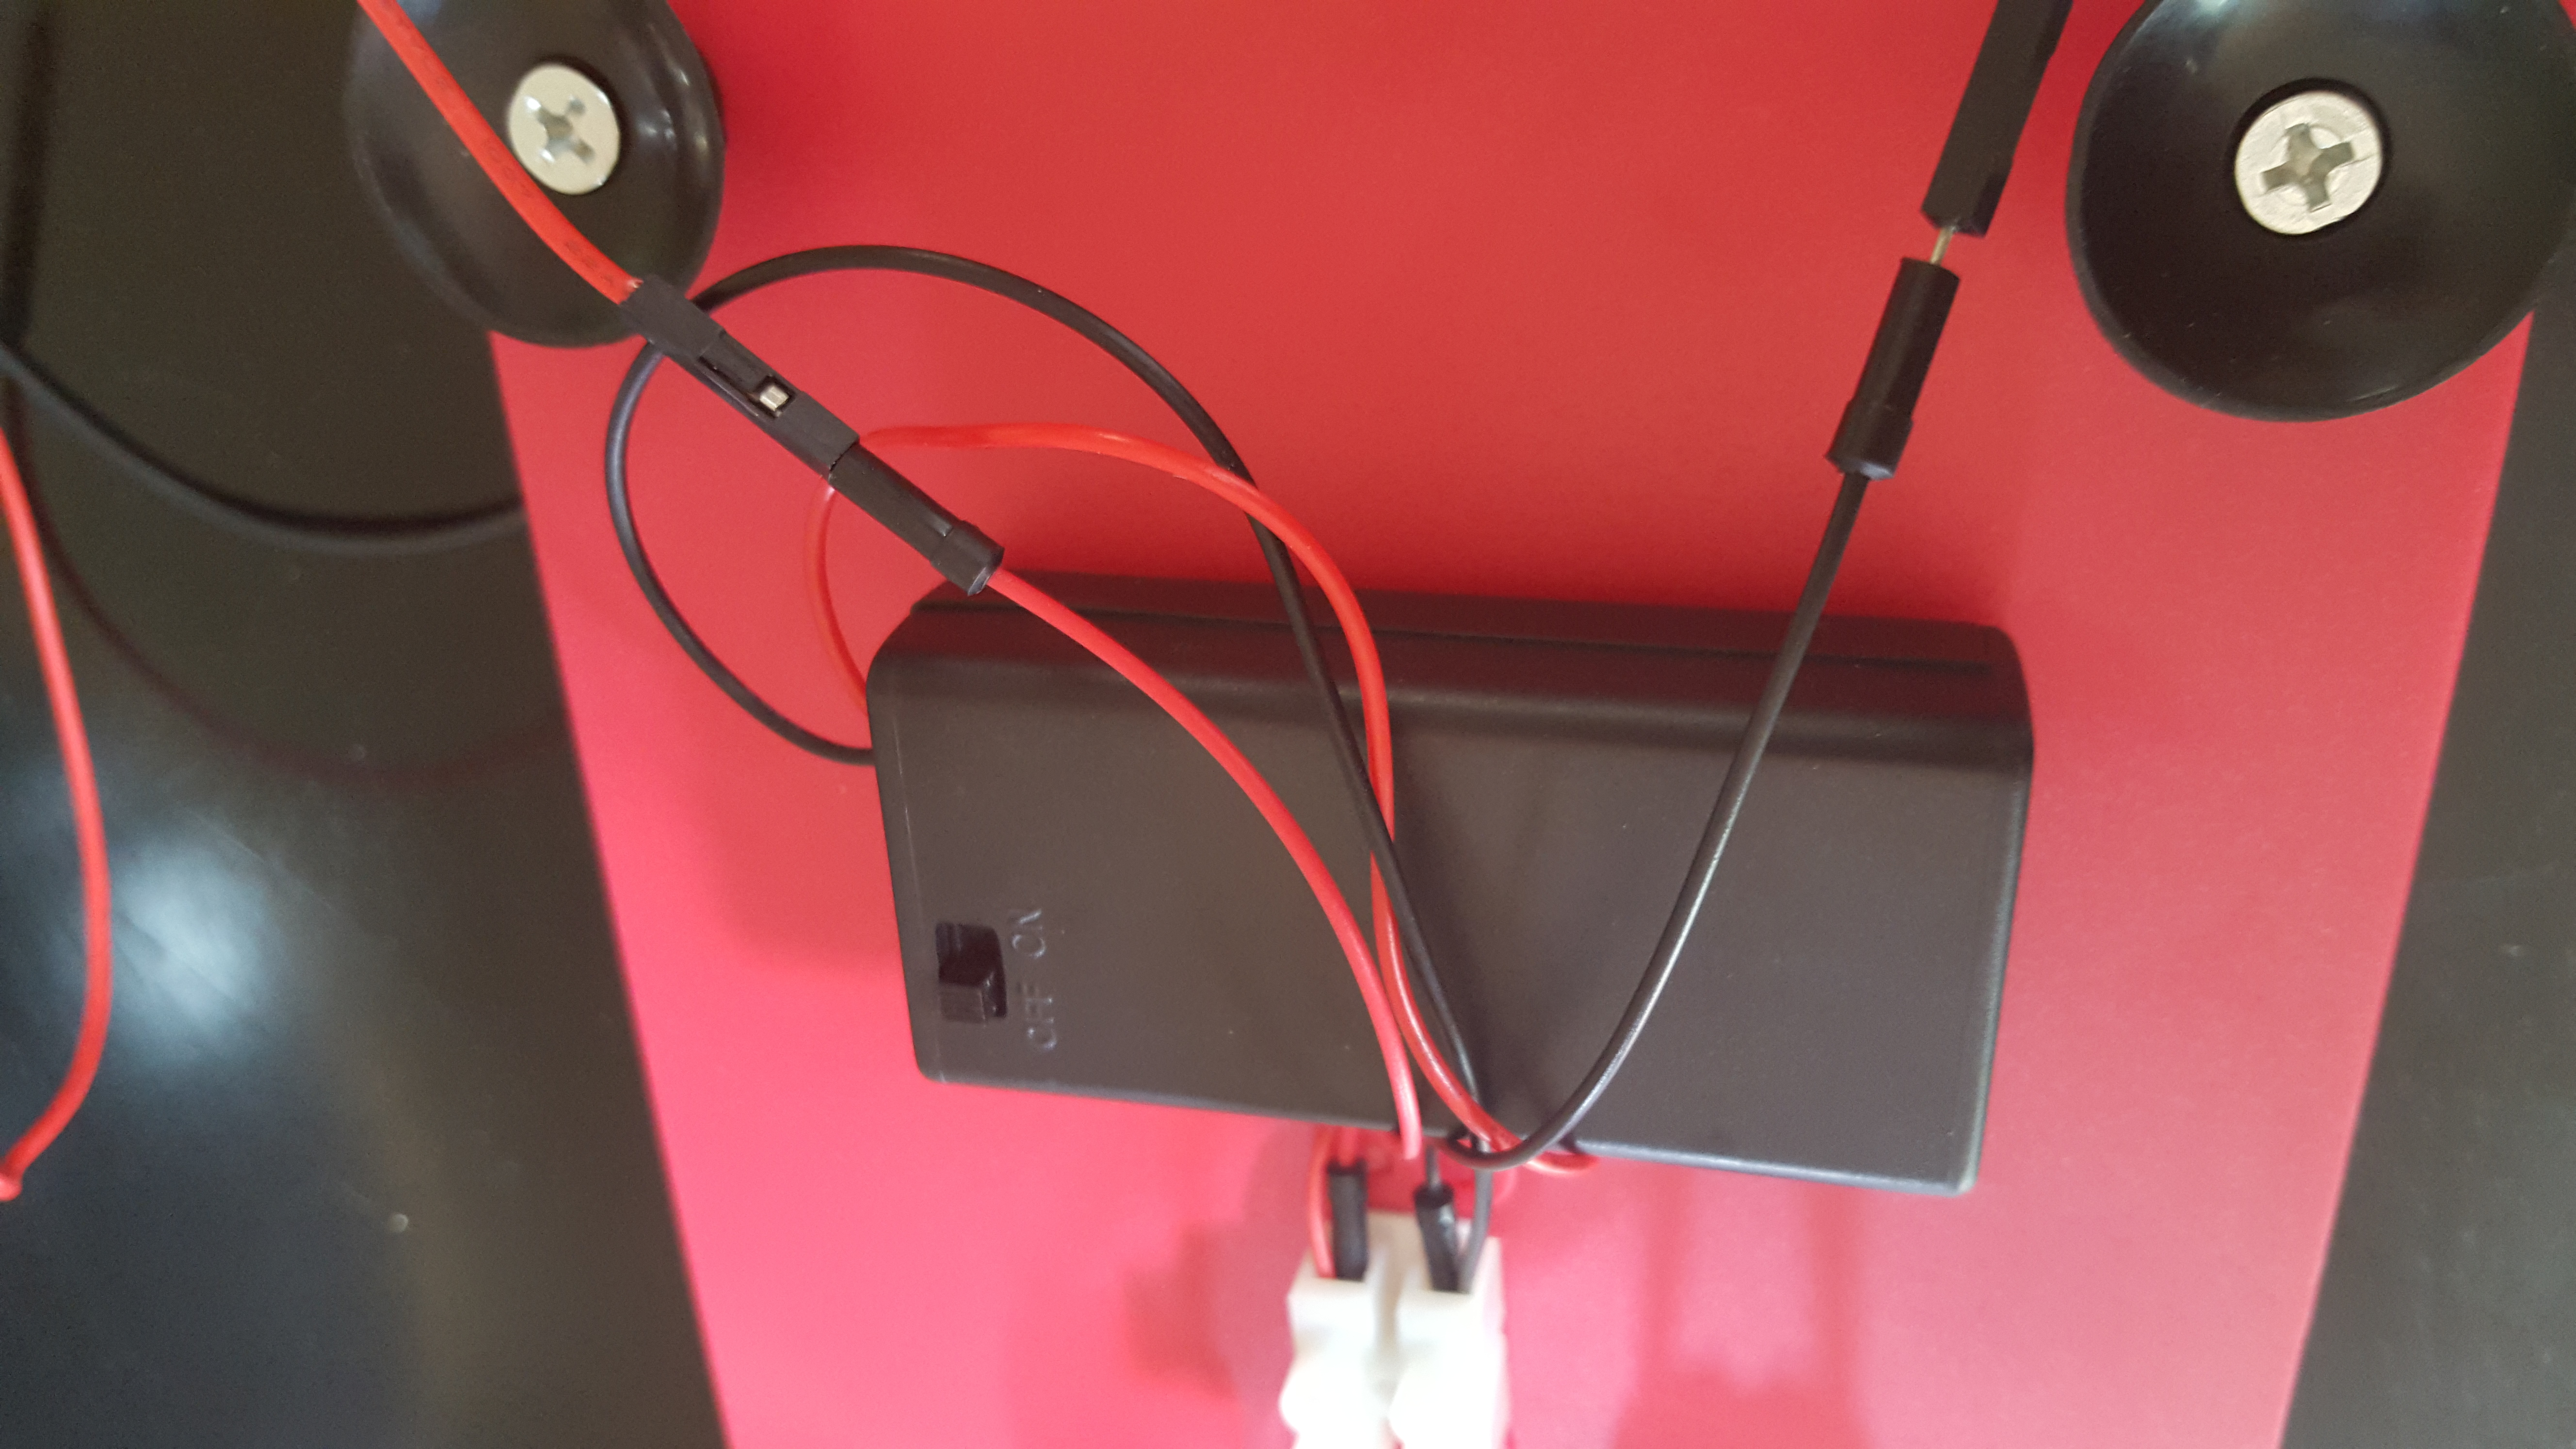
On the right side of the picture, you can see where the upper two red and the lower, two black attach. One red and one black attach over to the battery pack. As we don’t want the Raspberry Pi 5V, 2.5a power supply having to power the project along with the Raspberry Pi, keyboard, mouse, wifi and any other perephials attached that don’t have their own power supply, we’re going to keep the battery pack wired in, batteries included, but the power switch set to the OFF setting. When we execute our code, the batteries will supplement the power and keep the project from overwhelming our Rpi power supply, (how would you know if you need a battery pack on a project? Your Raspberry Pi will reboot immediately upon initiating power to the new add on. Trust me, you don’t want to do this often, so please, if a battery pack comes with a project, wire it in with the jumpers to the Raspberry Pi. You’ll thank me later! :))
Now the second set of wires on the right hand side you see up there, with the black jumpers are the jumper wires to used to attach the project to the Raspberry Pi. The first set, attached to the project and then going out, are male/male jumpers. From there, we use male/female jumper wires like the following:
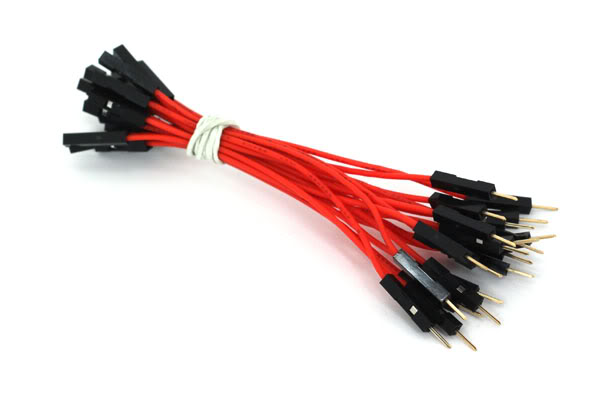
I buy them in various lengths, colors and ends for my projects from MicroCenter. You can then piggyback one after another of the male/female jumpers until you have the preferred length to then plug the appropriate positive, (+) and negative, (-) into your GPIO board or for me, my Pibrella board as follows.
Coding in Python
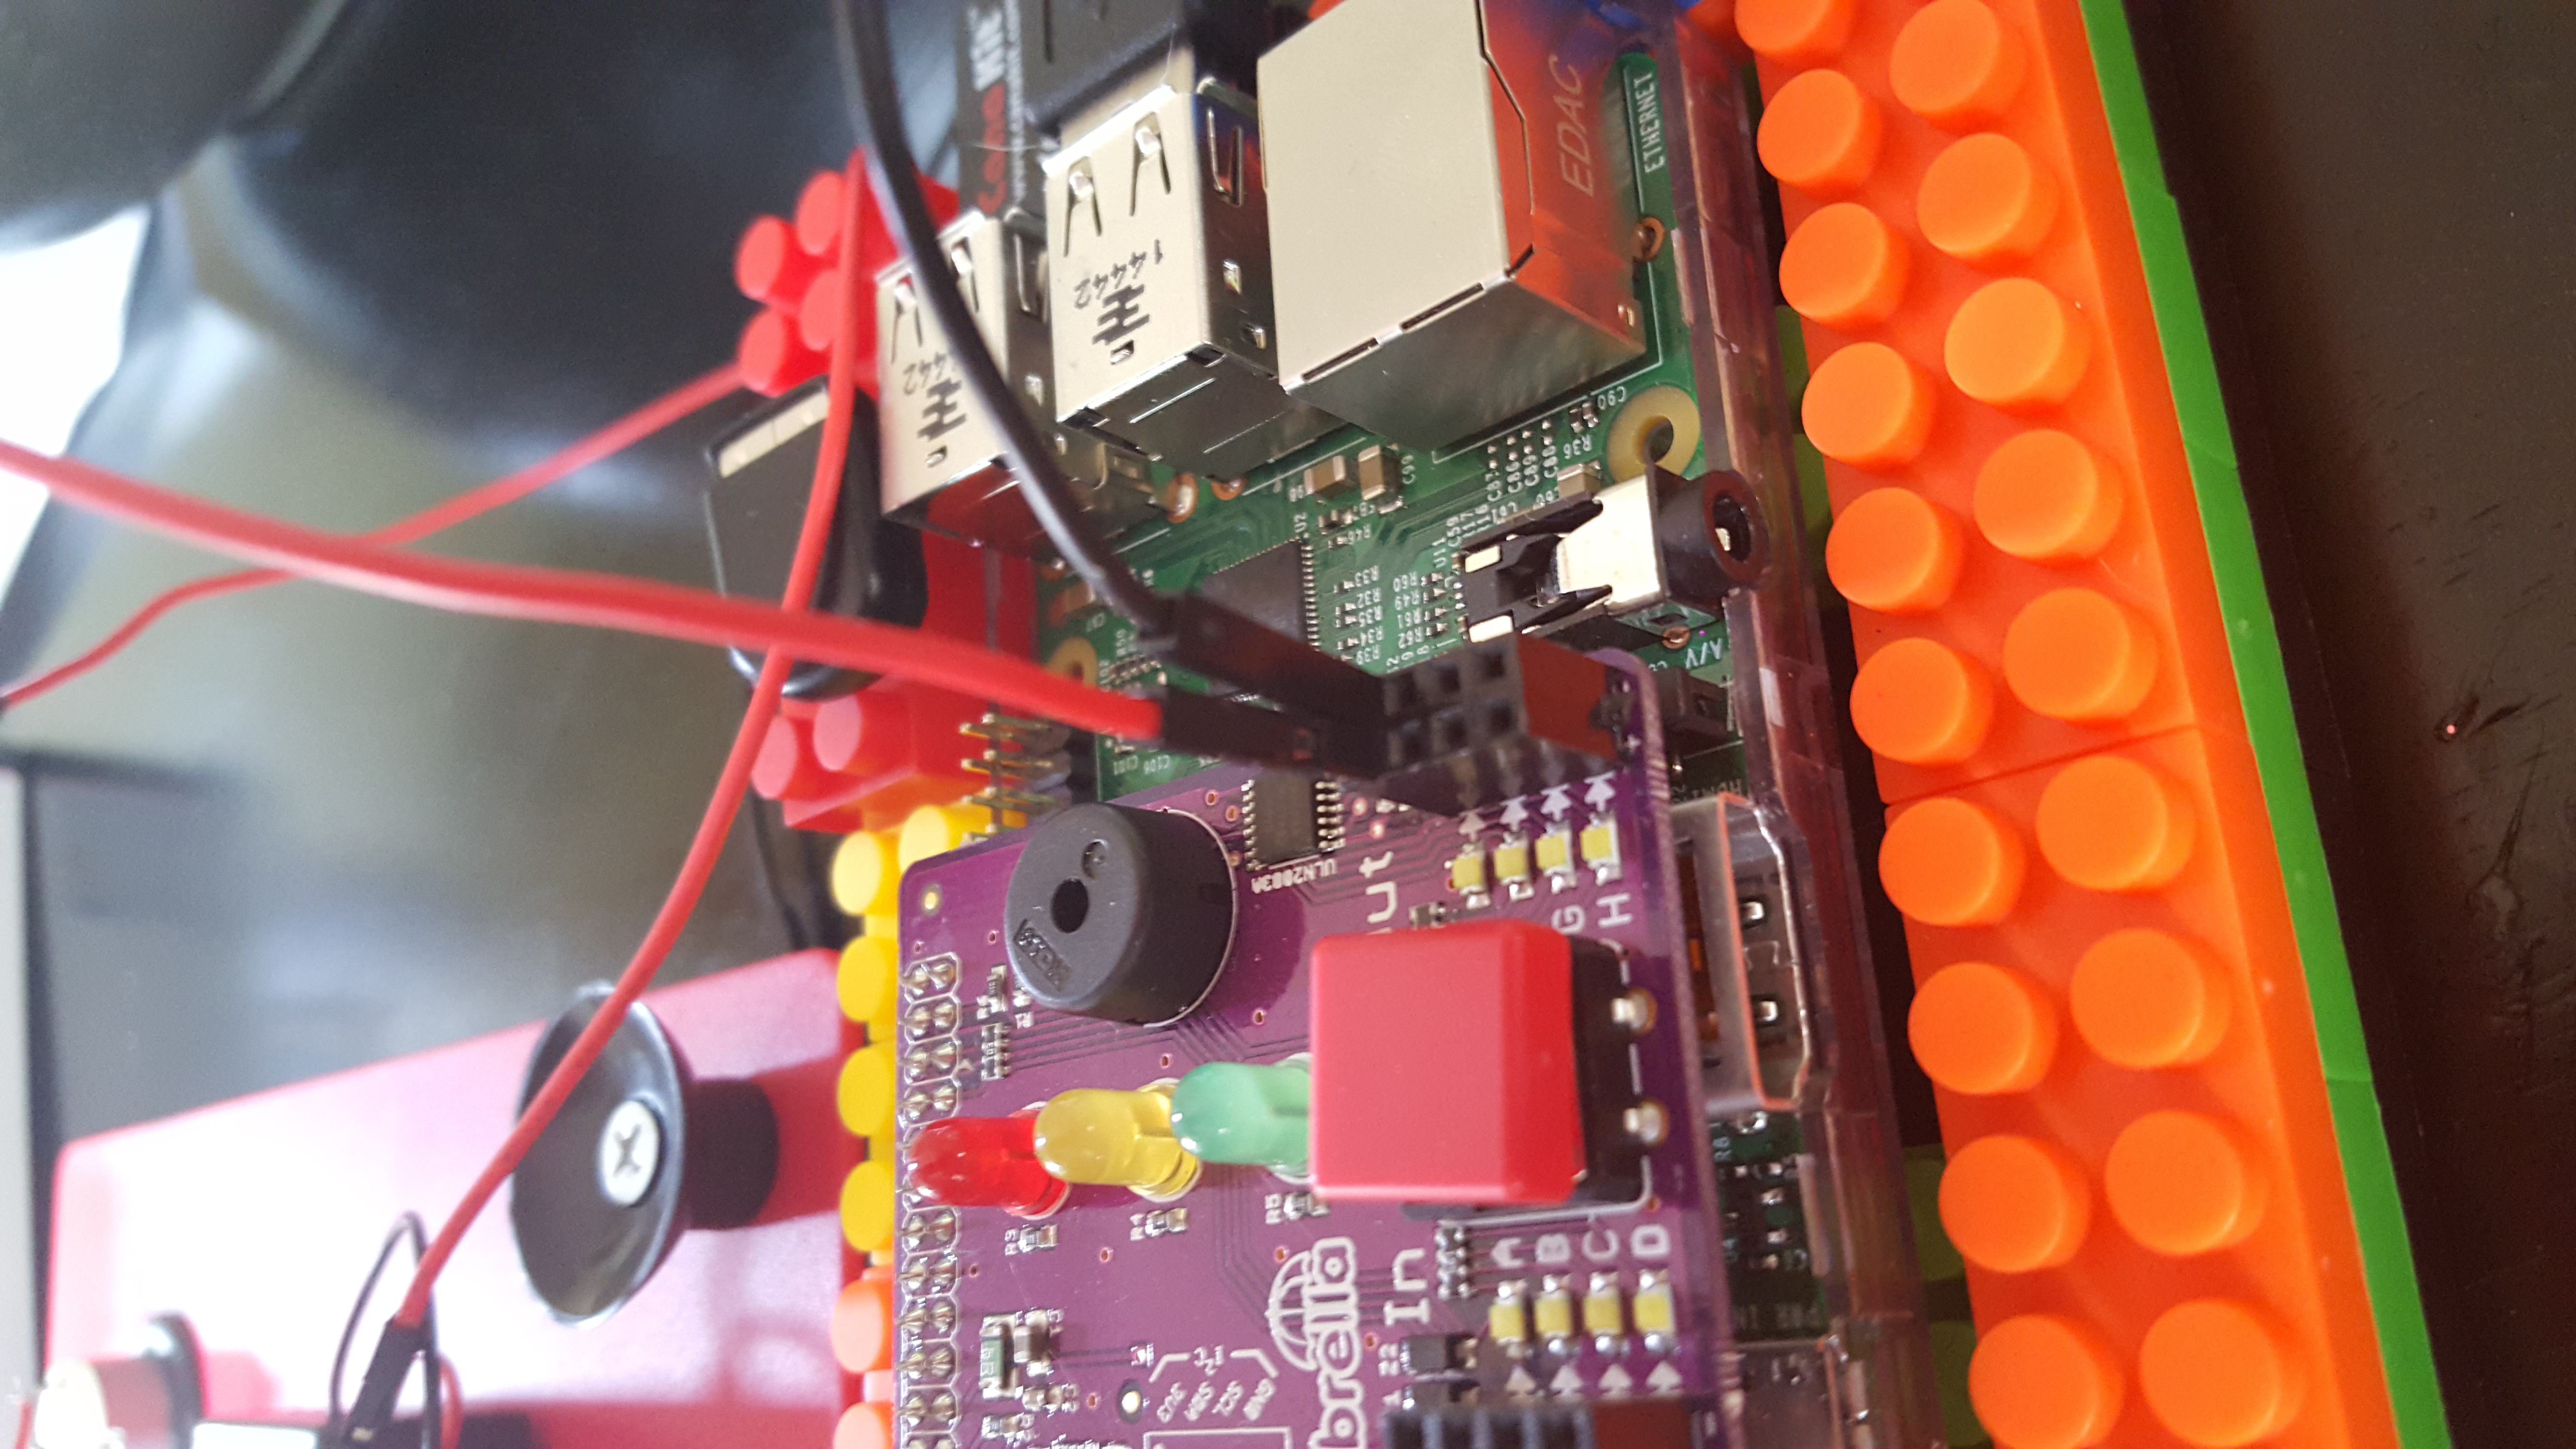
My code will be turning on the “E” connection, (you can see the letters on the left, A-D and then on the right side, you can barely see the G-H next to the red button, which is covering the E and F, E being at the top. There is a small positive and negative symbol at the bottom to tell you which is which for the In or Out and so I’ve plugged in my wires to the “OUT” and into E, since I’m using the following command to turn on the output:
pibrella.output.e.on() #use the pibella card, Out, E and turn it on…
Then I’m ready to update my code to do what I want with this new project.
import pibrella
import time

while true:
    if pibrella.button.read(): #use button to initiate code...
        pibrella.light.green.on() #turn on green light
        time.sleep(1)
        pibrella.light.green.off()
        pibrella.output.e.on() #Initiate E
        time.sleep(7)
        pibrella.output.e.off()
        pibrella.light.red.on() #Turn on Red light, to say done
        time.sleep(1)
        pibrella.light.red.off()
        pibrella.buzzer.success() #Issue Success sound to complete
        time.sleep(2)
        pibrella.buzzer.off()
exit()
This is now going to be our code that will do what we want with this project and yes, it does a lot more than the simple ON/OFF. Save this code as fly-plane.py and you’re ready to create your plane to fly with your airplane launcher.
Now you can let your assistant, (in my case, my 15 yr old son, Josh) build me a raging paper airplane. You can do this as simple or as complicated you want. The one tip I’ve offer is to keep the plane clean and narrow at the base, as it needs to run cleanly between the rubber spinners. Josh made me a few killer planes and this is a sample run of one of our launches. It’s executed from a terminal screen by typing in the following:
sudo python3 fly-plane.py
The first thing you’ll notice if you tried the airplane launcher with just the battery pack vs. with the Raspberry Pi and the battery pack is that it is super-charged with the Raspberry Pi configuration. We can control the speed of the rotation with GPIO code and such, but it’s just too much fun, (I also hear Tim the Toolman Taylor in the background making caveman ape like sounds… :))
So next time you’re looking for new projects, but coming up with nothing, take a look in the science and robotics kit aisle of your local toy store. You might find something fun to incorporate with your Raspberry Pi!